
There are cases when a mobile application requires essential information before the start. The application may need to preload some data from an external API endpoint or even from the local storage.
Without that information, the application might not be able to render a user interface. For example, the application may not know the display language yet.
Another example could be that application needs to check if the user is authorized and decide which screen should be rendered to the user.
Bootstrapping an application might take some time. In that case, it would be great to show to the user that something is happening.
One of the ways to achieve that would be to show a splash screen. The splash screen can contain some information for the user. It may have an application’s logo or a progress bar.
Let’s see how can we implement that in React Native.
Depending on the type of the application, there are would be several ways of how to render a splash screen.
I would like to cover two examples:
- A basic example for applications which have a component as an entry point.
- The second example is for applications which make use of React Navigation. Thus, have a navigator as an entry point.
Without further due, let’s start with the basic example.
Basic example
To demonstrate that approach, we are going to create a React Native application from scratch.
→ react-native init SplashScreenExample
→ cd SplashScreenExample
→ react-native run-ios
After small clean up, we can see a classic “Hello, World!” application.
First, we need to have some sort of flag which will show us that the data is still loading.
Let’s create a constructor for the App component and set an initial state.
constructor(props) {
  super(props);

  this.state = { isLoading: true }
}
We set the isLoading state to true, that will indicate that we are loading essential data.
Once we have done, we’ll turn the flag to false.
Now, when data is still loading, we are going to render the SplashScreen component instead of the application body.
render() {
if (this.state.isLoading) {
return <SplashScreen />;
}
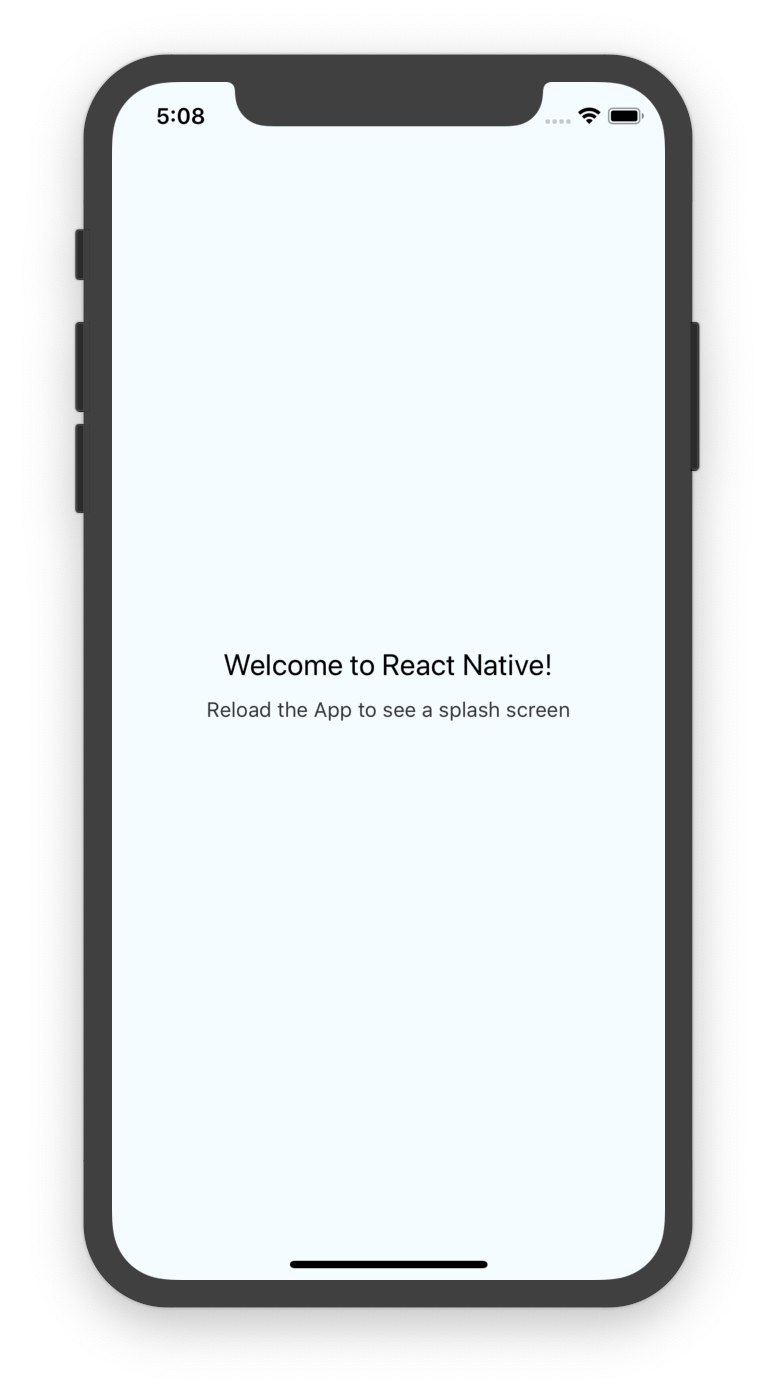
return (
<View style={styles.container}>
<Text style={styles.welcome}>
Welcome to React Native!
</Text>
<Text style={styles.instructions}>
Reload the App to see a splash screen
</Text>
</View>
);
}
Let’s create this component.
class SplashScreen extends React.Component {
  render() {
    const viewStyles = [
      styles.container,
      { backgroundColor: 'orange' }
    ];
    const textStyles = {
      color: 'white',
      fontSize: 40,
      fontWeight: 'bold'
    };

    return (
      <View style={viewStyles}>
        <Text style={textStyles}>
          Splash Screen
        </Text>
      </View>
    );
  }
}
The SplashScreen component has a centered text and a background style.
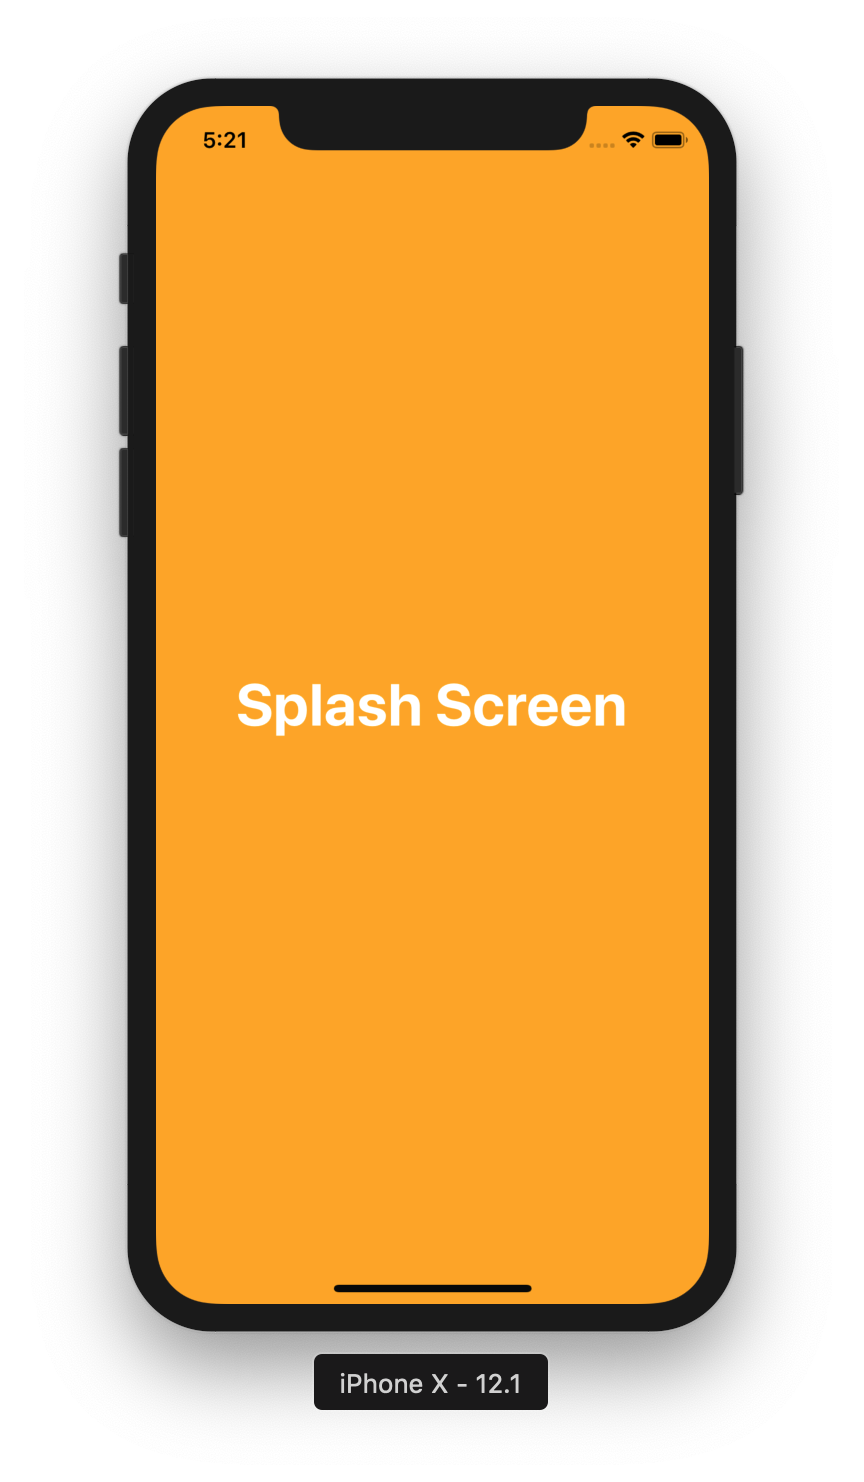
Now, if we run our app, we’ll see the splash screen and it won’t go away.
That’s because we never change the isLoading state.
Let’s move to that part.
First, let’s create a fake time-consuming task.
Define the following function in the App component.
performTimeConsumingTask = async() => {
  return new Promise((resolve) =>
    setTimeout(
      () => { resolve('result') },
      2000
    )
  );
}
We’ve defined a function which resolves itself in 2 seconds. That should be enough to demonstrate the work of the splash screen.
Now, define a callback function componentDidMount in the same App component.
async componentDidMount() {
  // Preload data from an external API
  // Preload data using AsyncStorage
  const data = await this.performTimeConsumingTask();

  if (data !== null) {
    this.setState({ isLoading: false });
  }
}
That function preloads the data.
Once the data is loaded (when we get the result back) we are going to change isLoading state to false.
That change will remove the splash screen and renders the application itself.
That’s pretty much it about the basic example.
Here you can find the complete implementation.
Example using React Navigation
As I already mentioned above, some application may have a navigator component from React Navigation as an entry point.
A navigator does not have componentDidMount function and we cannot implement a conditional render.
Because of that, we need to try a different approach.
To demonstrate that example, I am going to use Blitz Reading application which we were building in the previous articles.
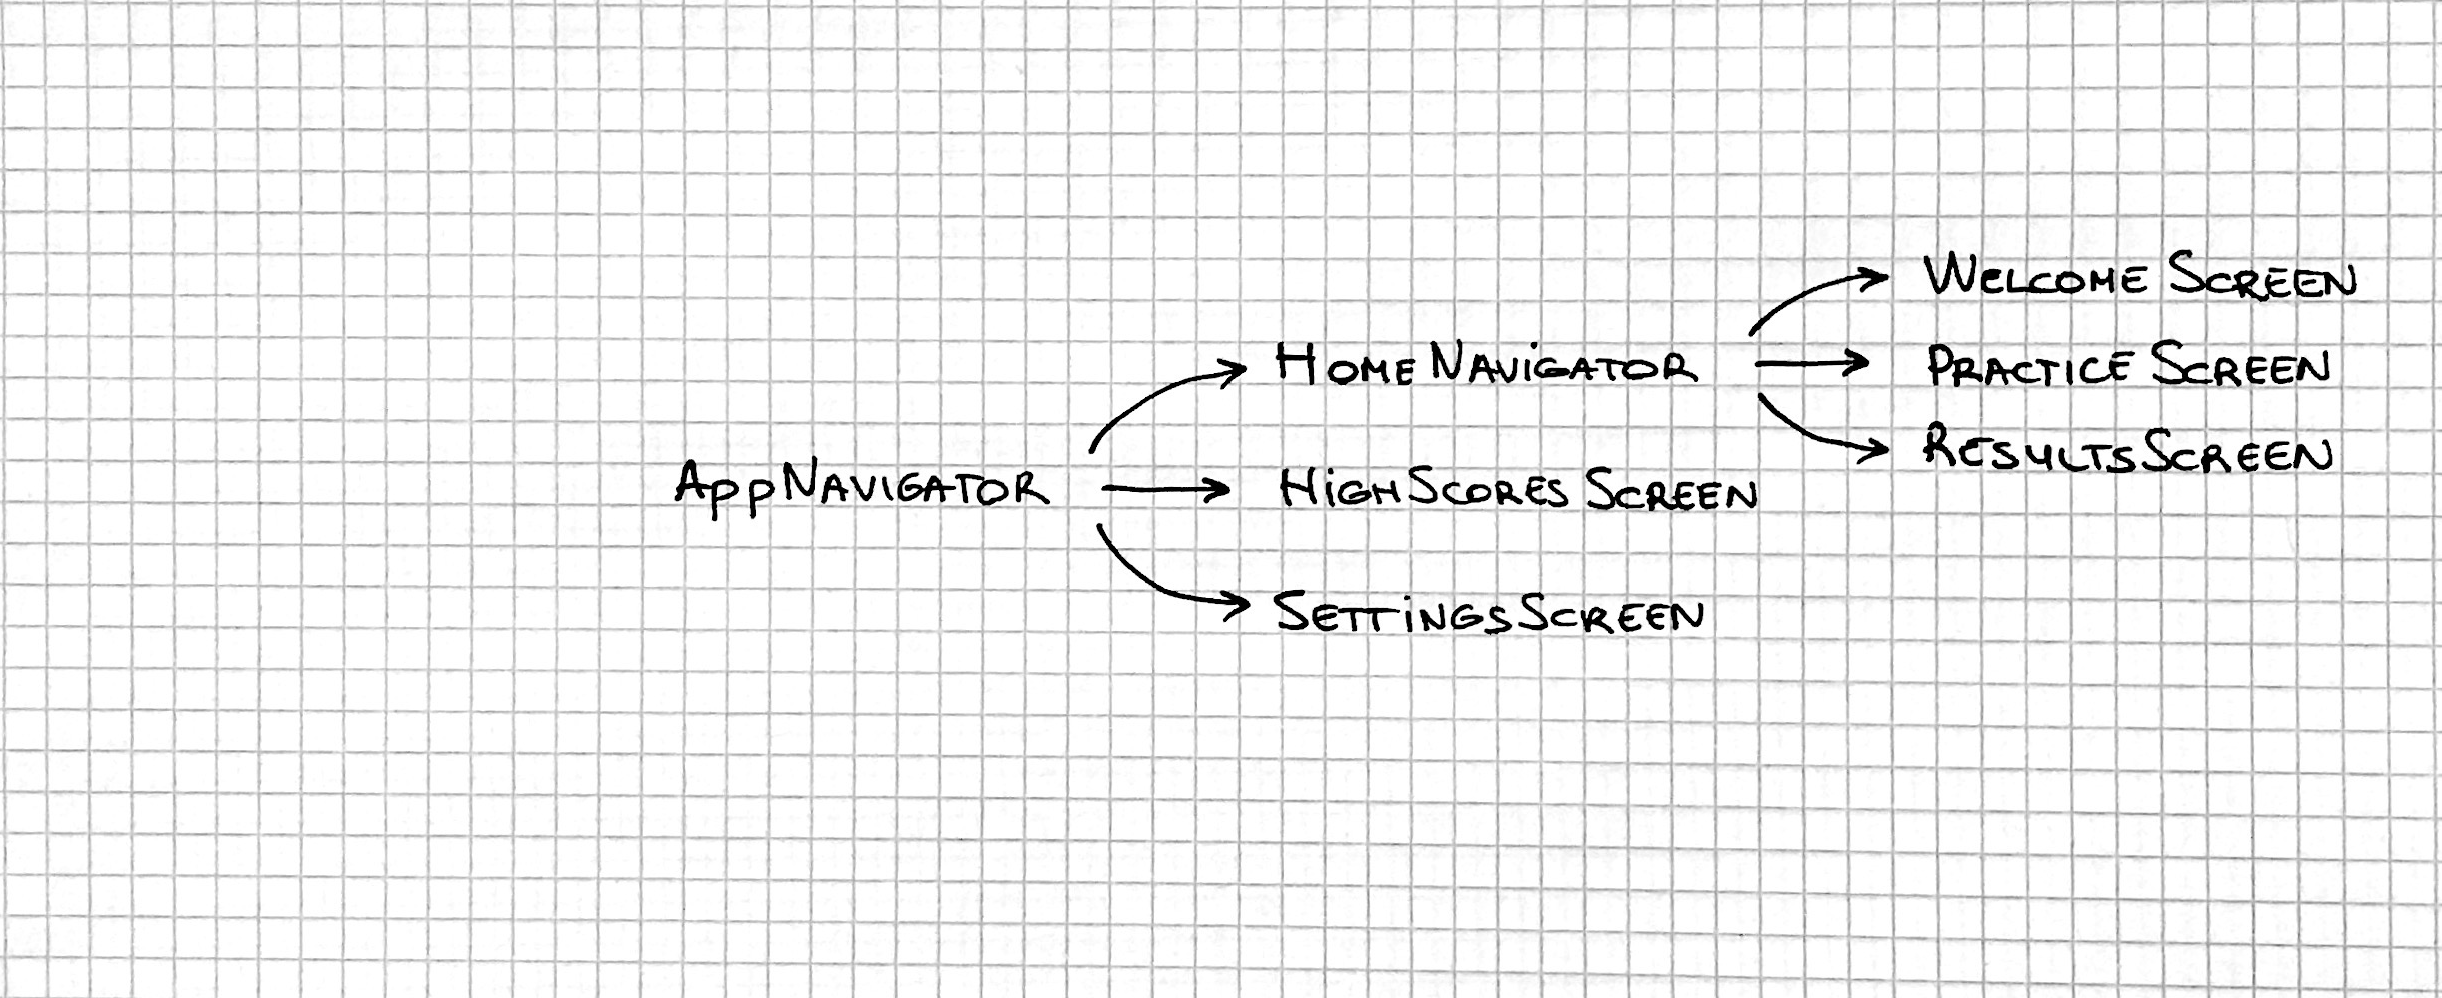
At the moment, the application consists of two navigators: AppNavigator and HomeNavigator.
The HomeNavigator is nested inside the AppNavigator and the AppNavigator is an entry point of the application.
Besides HomeNavigator, the AppNavigator contains a HighScoresScreen, and a SettingsScreen.
The HomeNavigator consists of Welcome, Practice, and Results screens.
You can see all these relations on the diagram below.
That’s how the navigators are defined in the App.js file. You can see a simplified version.
const HomeNavigator = createSwitchNavigator({
  Welcome: WelcomeScreen,
  Practice: PracticeScreen,
  Results: ResultsScreen
});

const AppNavigator = createBottomTabNavigator(
  {
    Home: {
      screen: HomeNavigator
    },
    HighScores: {
      screen: HighScoresScreen
    },
    Settings: {
      screen: SettingsScreen
    }
  }
);

export default createAppContainer(AppNavigator);
In order to render a splash screen, we need to inject it in front of AppNavigator.
See a diagram below:
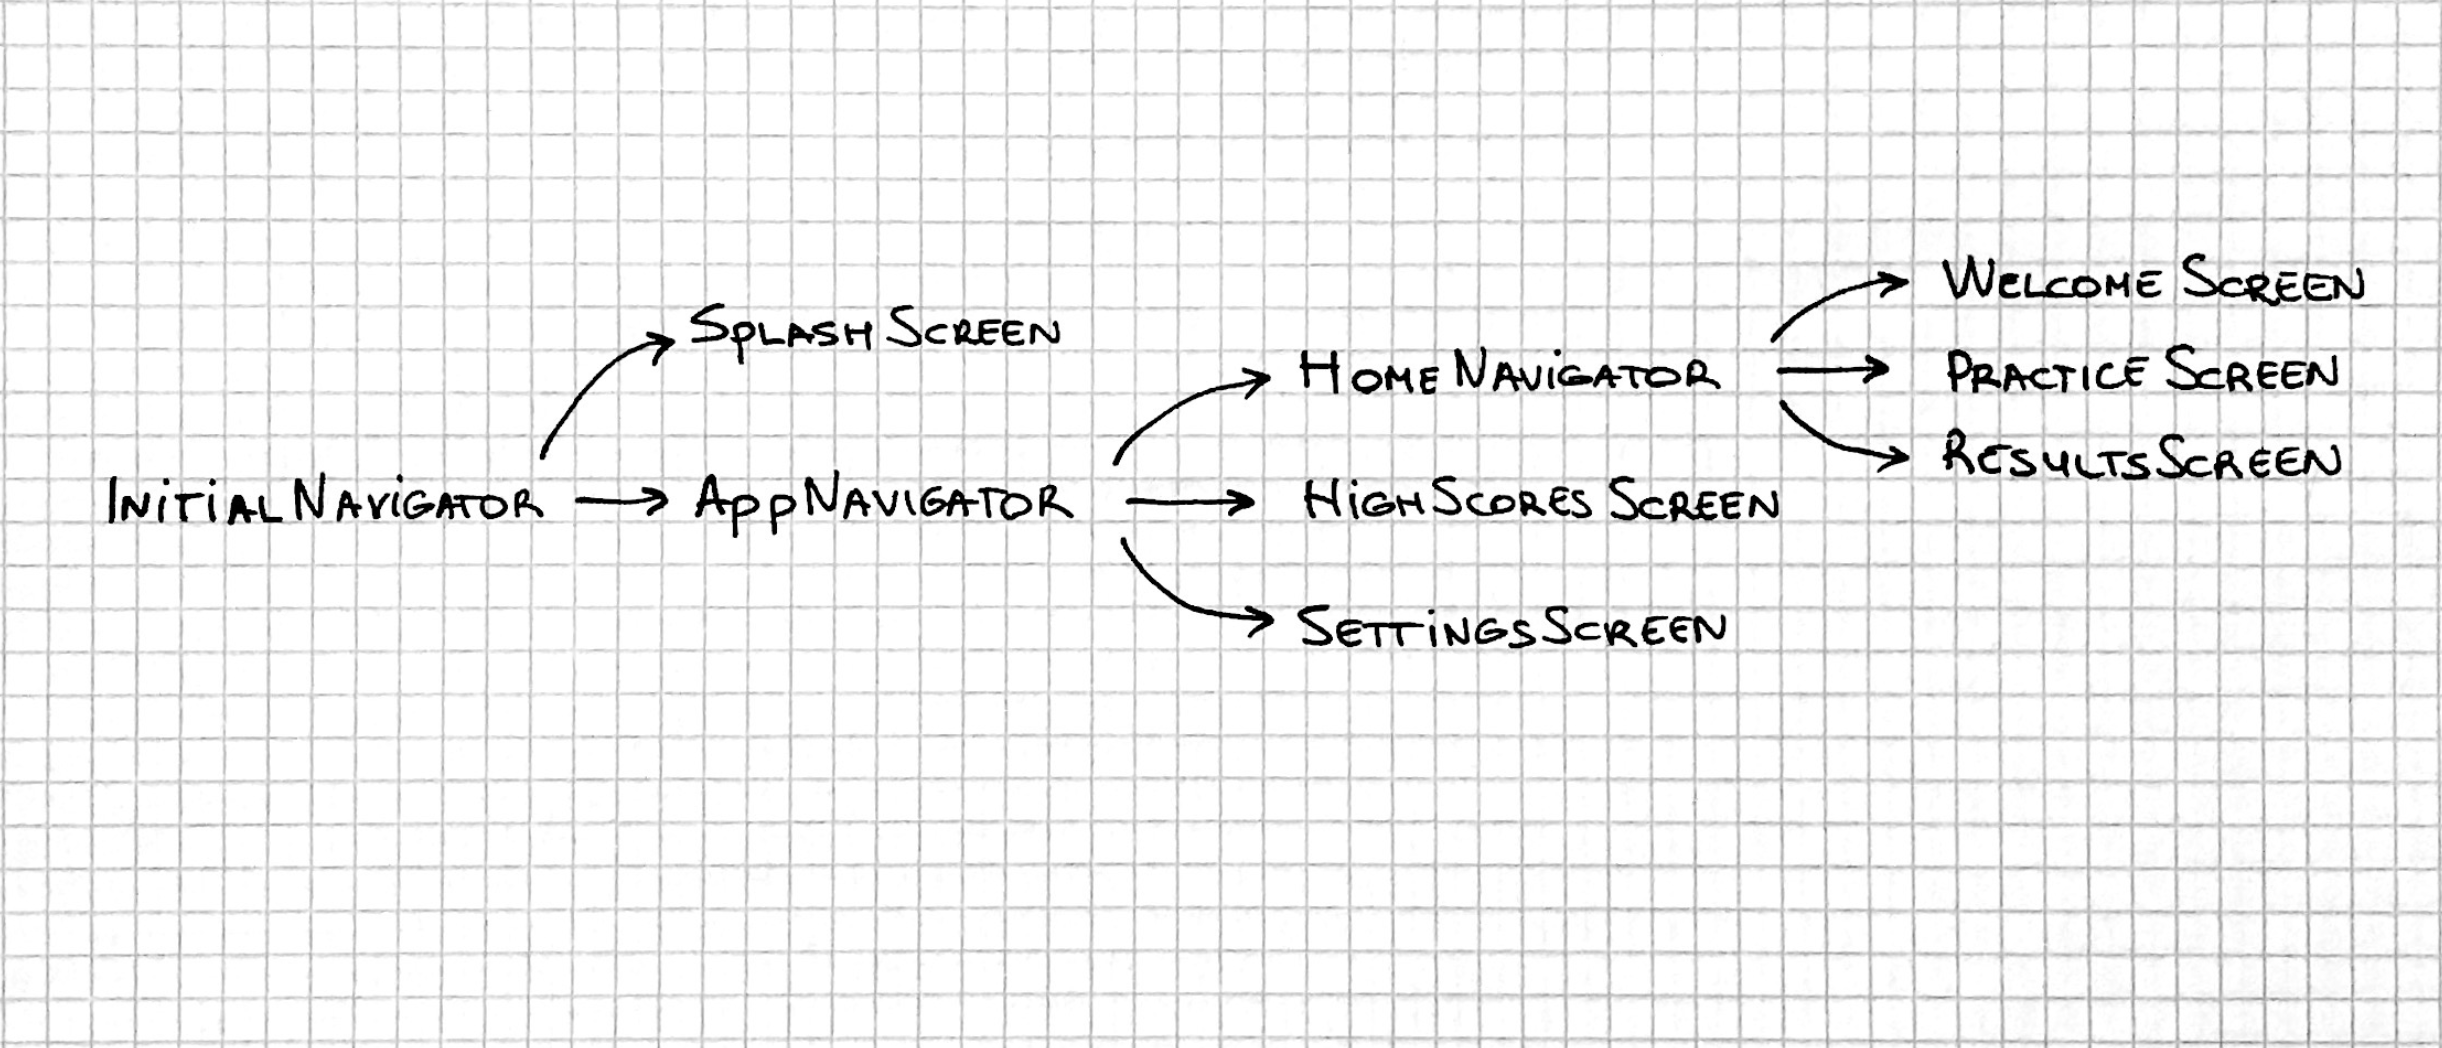
Let’s introduce a new switch navigator and turn it into an entry point of the application.
const InitialNavigator = createSwitchNavigator({
  Splash: SplashScreen,
  App: AppNavigator
});

export default createAppContainer(InitialNavigator);
Now we need to implement a splash screen component itself.
Create a src/screens/SplashScreen.js file with the following content.
import React from 'react';
import { View, Text } from 'react-native';

class SplashScreen extends React.Component {
  performTimeConsumingTask = async() => {
    return new Promise((resolve) =>
      setTimeout(
        () => { resolve('result') },
        2000
      )
    )
  }

  async componentDidMount() {
    // Preload data from an external API
    // Preload data using AsyncStorage
    const data = await this.performTimeConsumingTask();

    if (data !== null) {
      this.props.navigation.navigate('App');
    }
  }

  render() {
    return (
      <View style={styles.viewStyles}>
        <Text style={styles.textStyles}>
          Blitz Reading
        </Text>
      </View>
    );
  }
}

const styles = {
  viewStyles: {
    flex: 1,
    alignItems: 'center',
    justifyContent: 'center',
    backgroundColor: 'orange'
  },
  textStyles: {
    color: 'white',
    fontSize: 40,
    fontWeight: 'bold'
  }
}

export default SplashScreen;
Styles of the component are the same as the styles from the previous example. The fake time-consuming task is the same as well.
The difference is that now the SplashScreen component decides when to remove itself.
In the componentDidMount callback, when the data is loaded, the component navigates to an App route, which stands for the default route of the AppNavigator.
The app keeps working as before, but now with the preloaded data.
That concludes the React Navigation splash screen example.
You can find the complete example on the GitHub page of the project.
Wrapping up
Today we have learned how to add a splash screen functionality to a React Native applications. Now, depending on the application kind we can pick one approach or another. You saw how simple it was.
See you next time.