
I was covering Elixir in the previous artiles for a while. Now I think it is time to start talking about web development using Elixir. One of the most popular framework to do that is Phoenix which is built on top of Elixir and uses all its advantages.
Starting from that post I would like to begin a series of articles about web development using Phoenix framework. The general purpose of these series would be to learn some Phoenix and (I hope) to teach you how to use it for our projects. If you are (like me) just started to learn it, I believe I can help you to get some knowledge here. Or at least to provide you yet another example of using Phoenix to build web applications.
Together we will start building a chat application. Building the chat app will help us to cover some interesting functionality provided by Phoenix framework. We will start building it from scratch and will cover different topics on our way.
I have chosen “Prater” to be the name of the project. Prater in German is the one who chats a lot.
Installing development environment
As a first step, it would be great to have Phoenix installed on our computers.
In order to work the Phoenix needs following dependencies:
Elixir
It needs Elixir because it is built on top of it and Elixir needs Erlang.
If you have Elixir installed already then you have Erlang as well. I have covered the Elixir installation in Elixir - first steps article. For macOS, it is simply a one-line command to install it.
brew install elixir
For any other operating systems, you can find how to do that in Installing Elixir guide.
PostgreSQL
Phoenix uses Ecto to interact with the database using domain specific language. Ecto supports adapters for different databases. I will use PostgreSQL for that project.
The same as with Elixir it is easy to install PostgreSQL on macOS using HomeBrew package manager.
brew install postgresql
For other operating systems you find how to do it in Installation guides.
Node.js
By default, Phoenix uses brunch.io to compile static assets such as CSS and Javascript.
Brunch.io uses npm to install its dependencies, which is Node.js package manager.
Make sure you have Node.js version 5.3 or higher.
→ node --version
v8.6.0
In my case, it is 8.6.
If your version of Node.js is less than 5.3, then you can find instructions how to install it on the Node.js site.
Installing Phoenix
Once all requirements are satisfied you can go an install Phoenix itself.
We can install it using mix:
$ mix archive.install https://github.com/phoenixframework/archives/raw/master/phoenix_new.ez
And we are ready to go.
Create a new app
In order to create a new phoenix application we need to use the following command:
mix phx.new PATH [--module MODULE] [--app APP]
The PATH here is the path to the project. We can also specify MODULE and APP for the application.
If not, names for the module and app would be extracted from the provided path.
You can check more options by running:
→ mix help phoenix.new
So now we know how to create a new app, let’s do that.
→ mix phx.new prater
It will create a bunch of new files and install dependencies. After that, it provides us additional instructions on how to proceed with the starting a server, run an Interactive Elixir etc.
We are all set! Run your Phoenix application:

    $ cd prater
    $ mix phx.server

You can also run your app inside IEx (Interactive Elixir) as:

    $ iex -S mix phx.server

Before moving on, configure your database in config/dev.exs and run:

    $ mix ecto.create
Let’s try to follow them.
First we need to check settings of our database connection in config/dev.exs file and update them if they are different from your local settings. I have a different PostgreSQL password on my localhost, so I need to change it.
I will also change the password in config/test.exs.
What are these files?
The Phoenix by default provides us three different environments. Such as development, test, and production.
Every environment can have (and in some cases should have) different configuration. For example, we definitely do not want to use the same database for our environments. Otherwise, production data can be destroyed during the development phase and/or after running tests. We also don’t want to use the same database for test and development environments, because we may want to clear the database after finishing the test suite.
That is why we have three different configuration files for different environments: dev.exs, test.exs and prod.exs. Some configuration though is shared and it is kept in config/config.exs. Depending on current environment config.exs includes it at the very bottom:
# Import environment specific config. This must remain at the bottom
# of this file so it overrides the configuration defined above.
import_config "#{Mix.env}.exs"
Now let’s go and run mix ecto.create. It will precompile the code and create a blank database for us.
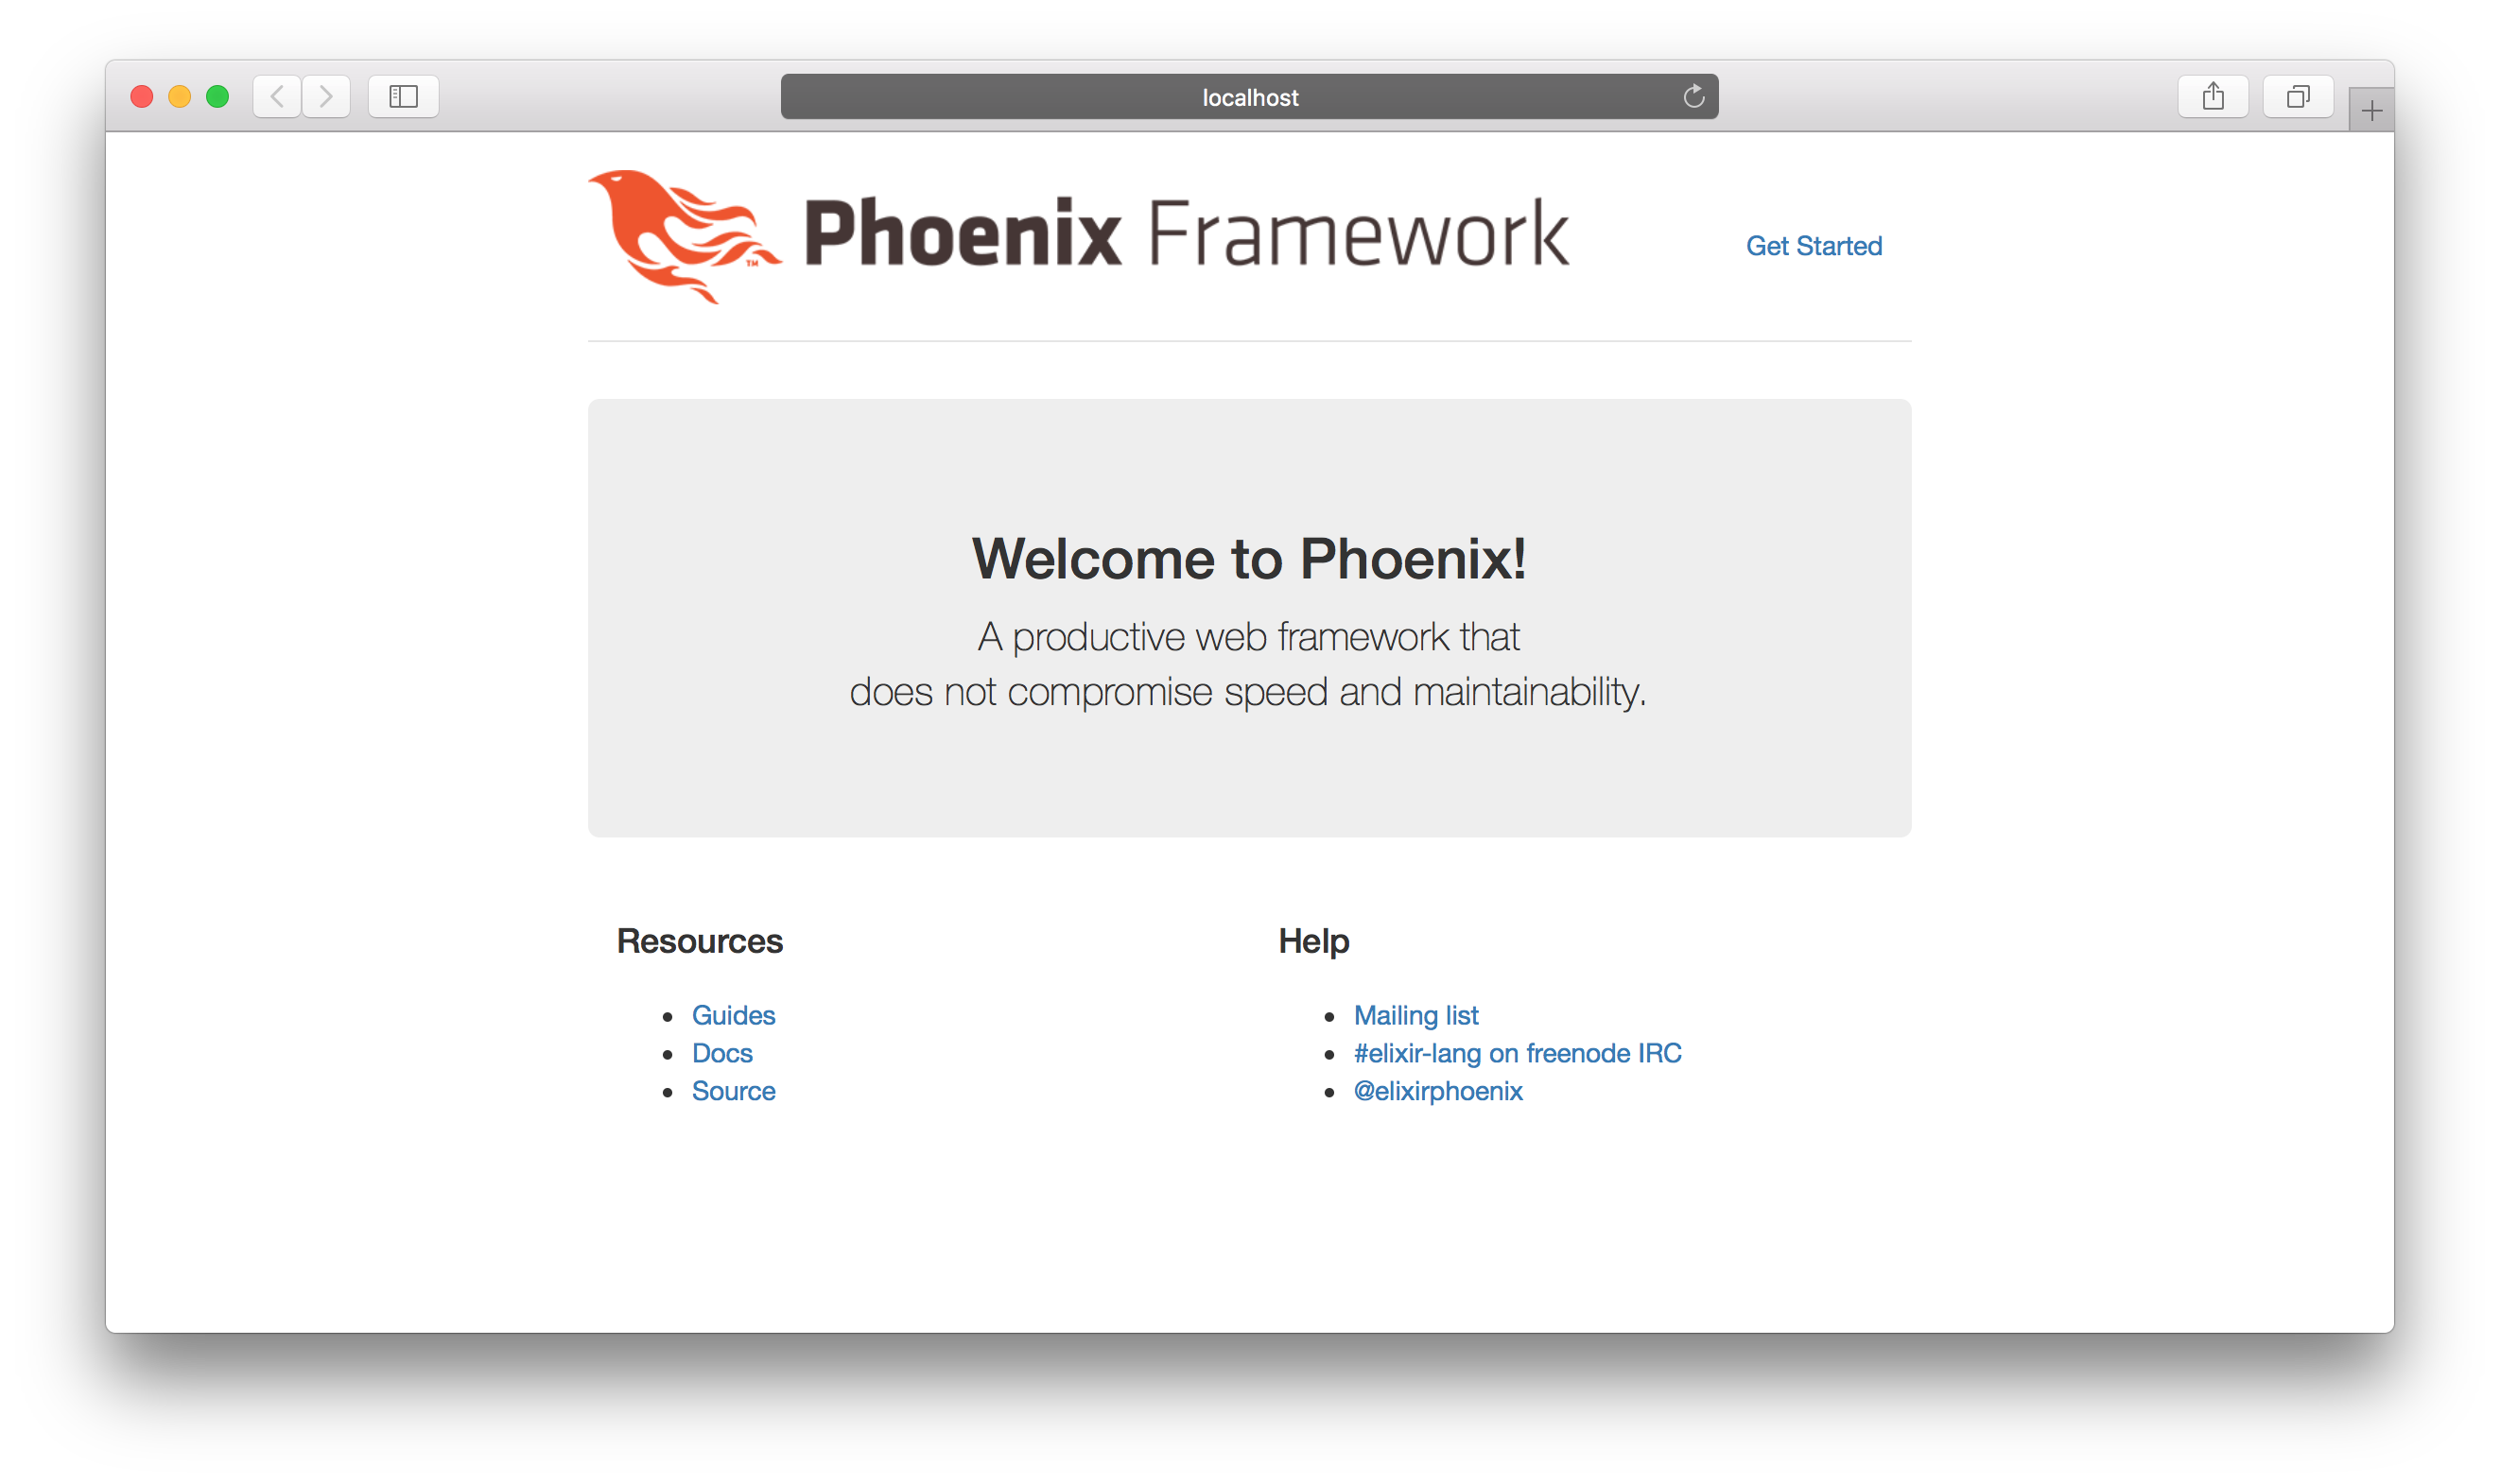
Then we can start the server using mix phx.server. This command will start the web server and we can navigate to http://localhost:4000 to see a phoenix welcome page.
Let’s try to change the welcome message on the page. Instead of “Welcome to Phoenix” and a bunch of links we are going change it to “Welcome to Prater”.
The content of our welcome page located in lib/prater_web/templates/page/index.html.eex (for Phoenix version 1.3). Let’s open it using your favorite editor and replace it with:
<div class="jumbotron">
  <h2><%= gettext "Welcome to %{name}", name: "Prater" %></h2>
</div>
Here we have replaced the name “Phoenix” with “Prater” and cut the content we don’t need anymore. Once we switch back to our browser we can see changes right away. We didn’t even need to reload the page. That has happened because Phoenix provides live reloading. Every time the template is changed the phoenix reloads the page to reflect these changes.
So our page looks like in the screenshot below:

Congratulations. We just created our first Phoenix application.
Wrapping up
We just made our first steps into developing Phoenix applications. We have prepared our development environment. We have created a new application and check what did we get out of it. The foundation is set. In the next articles, we will proceed to build our chat application.