
In the previous article we have covered the basics of Alexa skills development. We have discussed what is Alexa and Alexa skills, how does it work in general and why you may be interested to play with the technology.
Today we are going to build our first skill from zero to production an Echo device.
Let’s get started.
Before the start
Before we start, there are some things we need to have.
JavaScript knowledge
In order to make a skill work, we need to implement a lambda function. Although AWS Lambda supports different programming languages, I am going to use JavaScript (and Node.js) in the examples here. Mostly because JavaScript is a quite popular programming language.
You are able to use any other programming language to implement Alexa skills. Just make sure there is Alexa SDK for that language.
Node.js 6.10 +
Next, we are going to implement our code locally and we would need to install dependencies before we “deploy” our code to AWS lambda.
To do that we will need npm to install them.
So if you don’t have it yet on your computer you can find how to do that on the Node.js page.
AWS Lambda runs on Node.js version 6.10 so we would need the same version or newer.
AWS free tier account
In order to implement AWS Lambda functions, we need AWS account. AWS provides an option to register an AWS Free Tier account. So if you don’t have any, go ahead and register.
During the registration process, AWS will ask credit card information. That is one of the requirements even though using a lambda (well in our case) will not cost you anything.
Amazon developer account
The last but not least you will need Amazon developer account. That is where we will create our skills and define a shape of them. Visit developer.amazon.com to create a new account.
OK, now, once we have every piece ready, let’s start to build our first skill.
Building a skill
Skill builder
We are going to start from the Amazon Developer account.
Sign in on developer.amazon.com and navigate to the Alexa Skills developer console. You can do it (at the moment of publishing that article) by hover “Your Alexa Consoles” menu and choose “Skills” from the drop-down menu.
You should see a page with the following header:
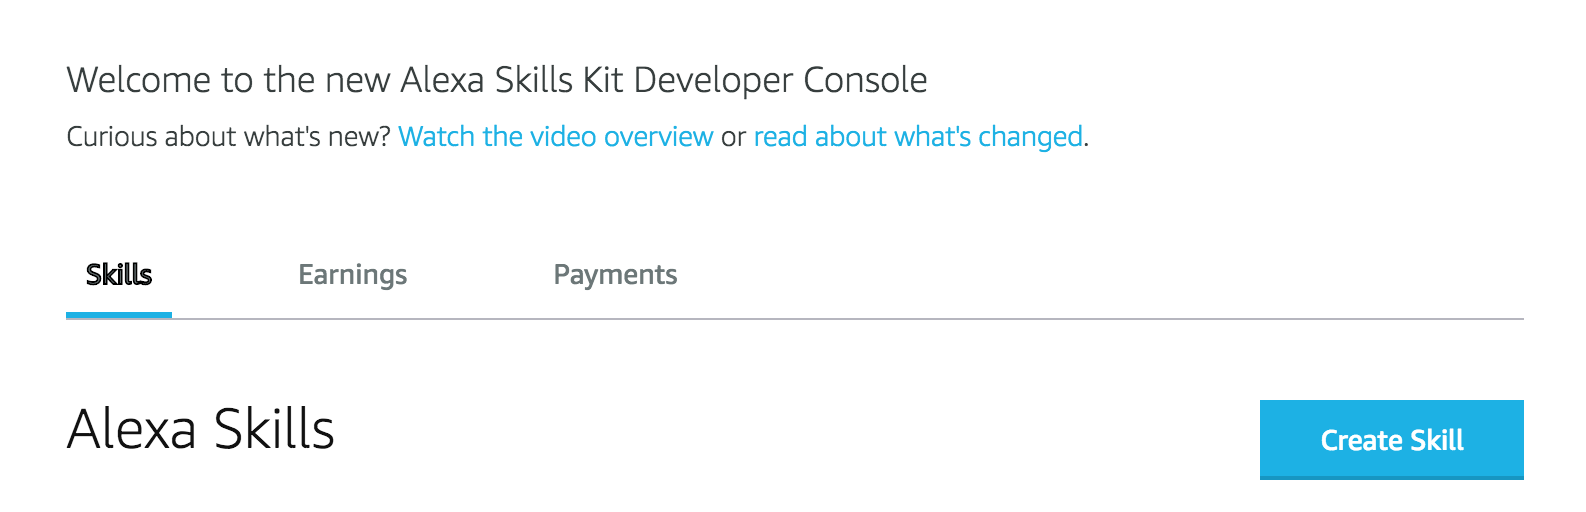
That page displays a list of all your (future) Alexa skills.
Go and click “Create Skill” button.
On the following screen, we need to pick a name for the skill, a default language and configure skill intents.
The skill name is not an invocation name, that is the name to be shown in the list of your skills and in the Alexa marketplace.
I will call mine “What did I learn” (you can name it the same). Then choose “English (US)” as a default language and choose the “Custom” model. Then click “Create a skill” button to proceed.
We end up on the skill builder page. It requires us to complete four different steps to be able to proceed: “Invocation Name”, “Intents, Samples and Slots”, “Build Model”, “Endpoint”.
Let’s go through each of these steps:
Invocation Name
The invocation name is the way how users can interact with a skill. Let’s call it “my first skill”.
So a user will be able to say “Alexa, open my first skill” or “Alexa, ask my first skill what did I learn”.
In the examples above “Alexa” is a wake word. “Open” and “ask” are launch commands. “My first skill” is the invocation name and “what did I learn” is utterance.
Intents
We have the invocation name for the skill. For the next step, we need to configure some intents. So our skill will be able to understand what can we do.
Go ahead and choose “Intents” from the left side menu. You should see the page with the following content.

As you can see the skill builder populates the list with the four built-in intents: “AMAZON.StopIntent”, “AMAZON.HelpIntent”, “AMAZON.CancelIntent”, “AMAZON.FallbackIntent”.
For every skill, Alexa would understand those commands and will be able to respond in a corresponding way. As a developer, you are able to extend responses for those intents. For example, if a user asks for help, you can provide some information back to user so the user would get more information about your skill. On “Stop” you can wrap up a dialog and say goodbye to the user. On “Cancel” you can cancel some action, for example, to cancel an order.
The more information about built-in intents you can find on the documentation page.
Now let’s create our own custom intent.
We need to click “Add intent” button, provide a name “WhatDidILearnIntent” and click “Create custom intent” button. On the following page, we need to provide one or more utterances. So the skill will be able to understand which intent to trigger.
Let’s provide the following samples:
- What did I learn
- What have I learned
- Did I learn something
Slot types
The slot types are used together with utterances to get some custom values from a user. For example, we can ask a user to name a number from 1 to 10. The utterance may look “The number is {number}”. Where “{number}” is a slot name of type “Number”. Then we can fetch that value in our code and behave accordingly.
At that point, we don’t need slots. Let’s skip them for now.
Build Model
Now, we have defined the behavior of our skill and we are ready to build an interaction model. Click the button “Build Model” on the top of the page. It will take a couple of seconds.
Endpoint
Here we need to specify an ARN of our lambda function in order to bind a skill and a lambda function together. There is nothing we can do right now. We are going to back here after we implement our lambda function.
At this point, we have prepared the structure of our skill. Now we need a lambda function to make it work.
Lambda function
Sign in to AWS Console using your AWS free tier account.
Before we proceed and create a lambda function, there is one more step we need to do. Every lambda function requires some set of permissions, so we need to define them. Let’s create a new IAM Role for that.
Create role
From AWS services dashboard find and navigate to “IAM” service name. Choose “Roles” from the left side menu. Click “Create role” button. One the “Create role” page choose “AWS Service” and “Lambda” from the list below:

Then click the “Next: Permissions” button.
On the permissions page find and select “AWSLambdaBasicExecutionRole” permission and click the “Next” button again.
Give a name to the role and click “Create role”. For example, I’ve called mine “alexa-basic-role”.
IAM Role: “Create a new IAM Role” Role name: “alexa-basic-role” and click Allow
Now we are ready to proceed with a lambda function.
Creating a lambda function
In the services, list chooses “Lambda”. You can use the search box to find and navigate to the lambda’s page.
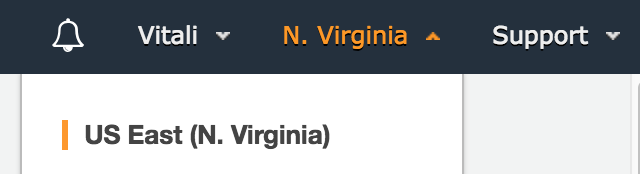
We need to keep in mind that Alexa Skill Kit does not work in every region. Just to be sure we won’t run into any issues let’s choose “US East (N. Virginia)” as our region from the top menu.
Next, click “Create function”.
On the create function page we need to:
- Provide a name. I would call it “whatDidILearn”.
- Select a runtime (basically the language of your choice). I would pick “Node.js 6.10”.
- Select “Choose an existing role” and pick our role from the drop-down box below.

Now, click “Create function” button in the right bottom corner. We will end up on the function page. On that page, we can (and we need to) add more configuration options.
First of all, we need to define a trigger for the function. Basically, we need to specify who will call and how will one call that function. In our case, we need to choose “Alexa Skills Kit” it will ask us for additional configuration options.
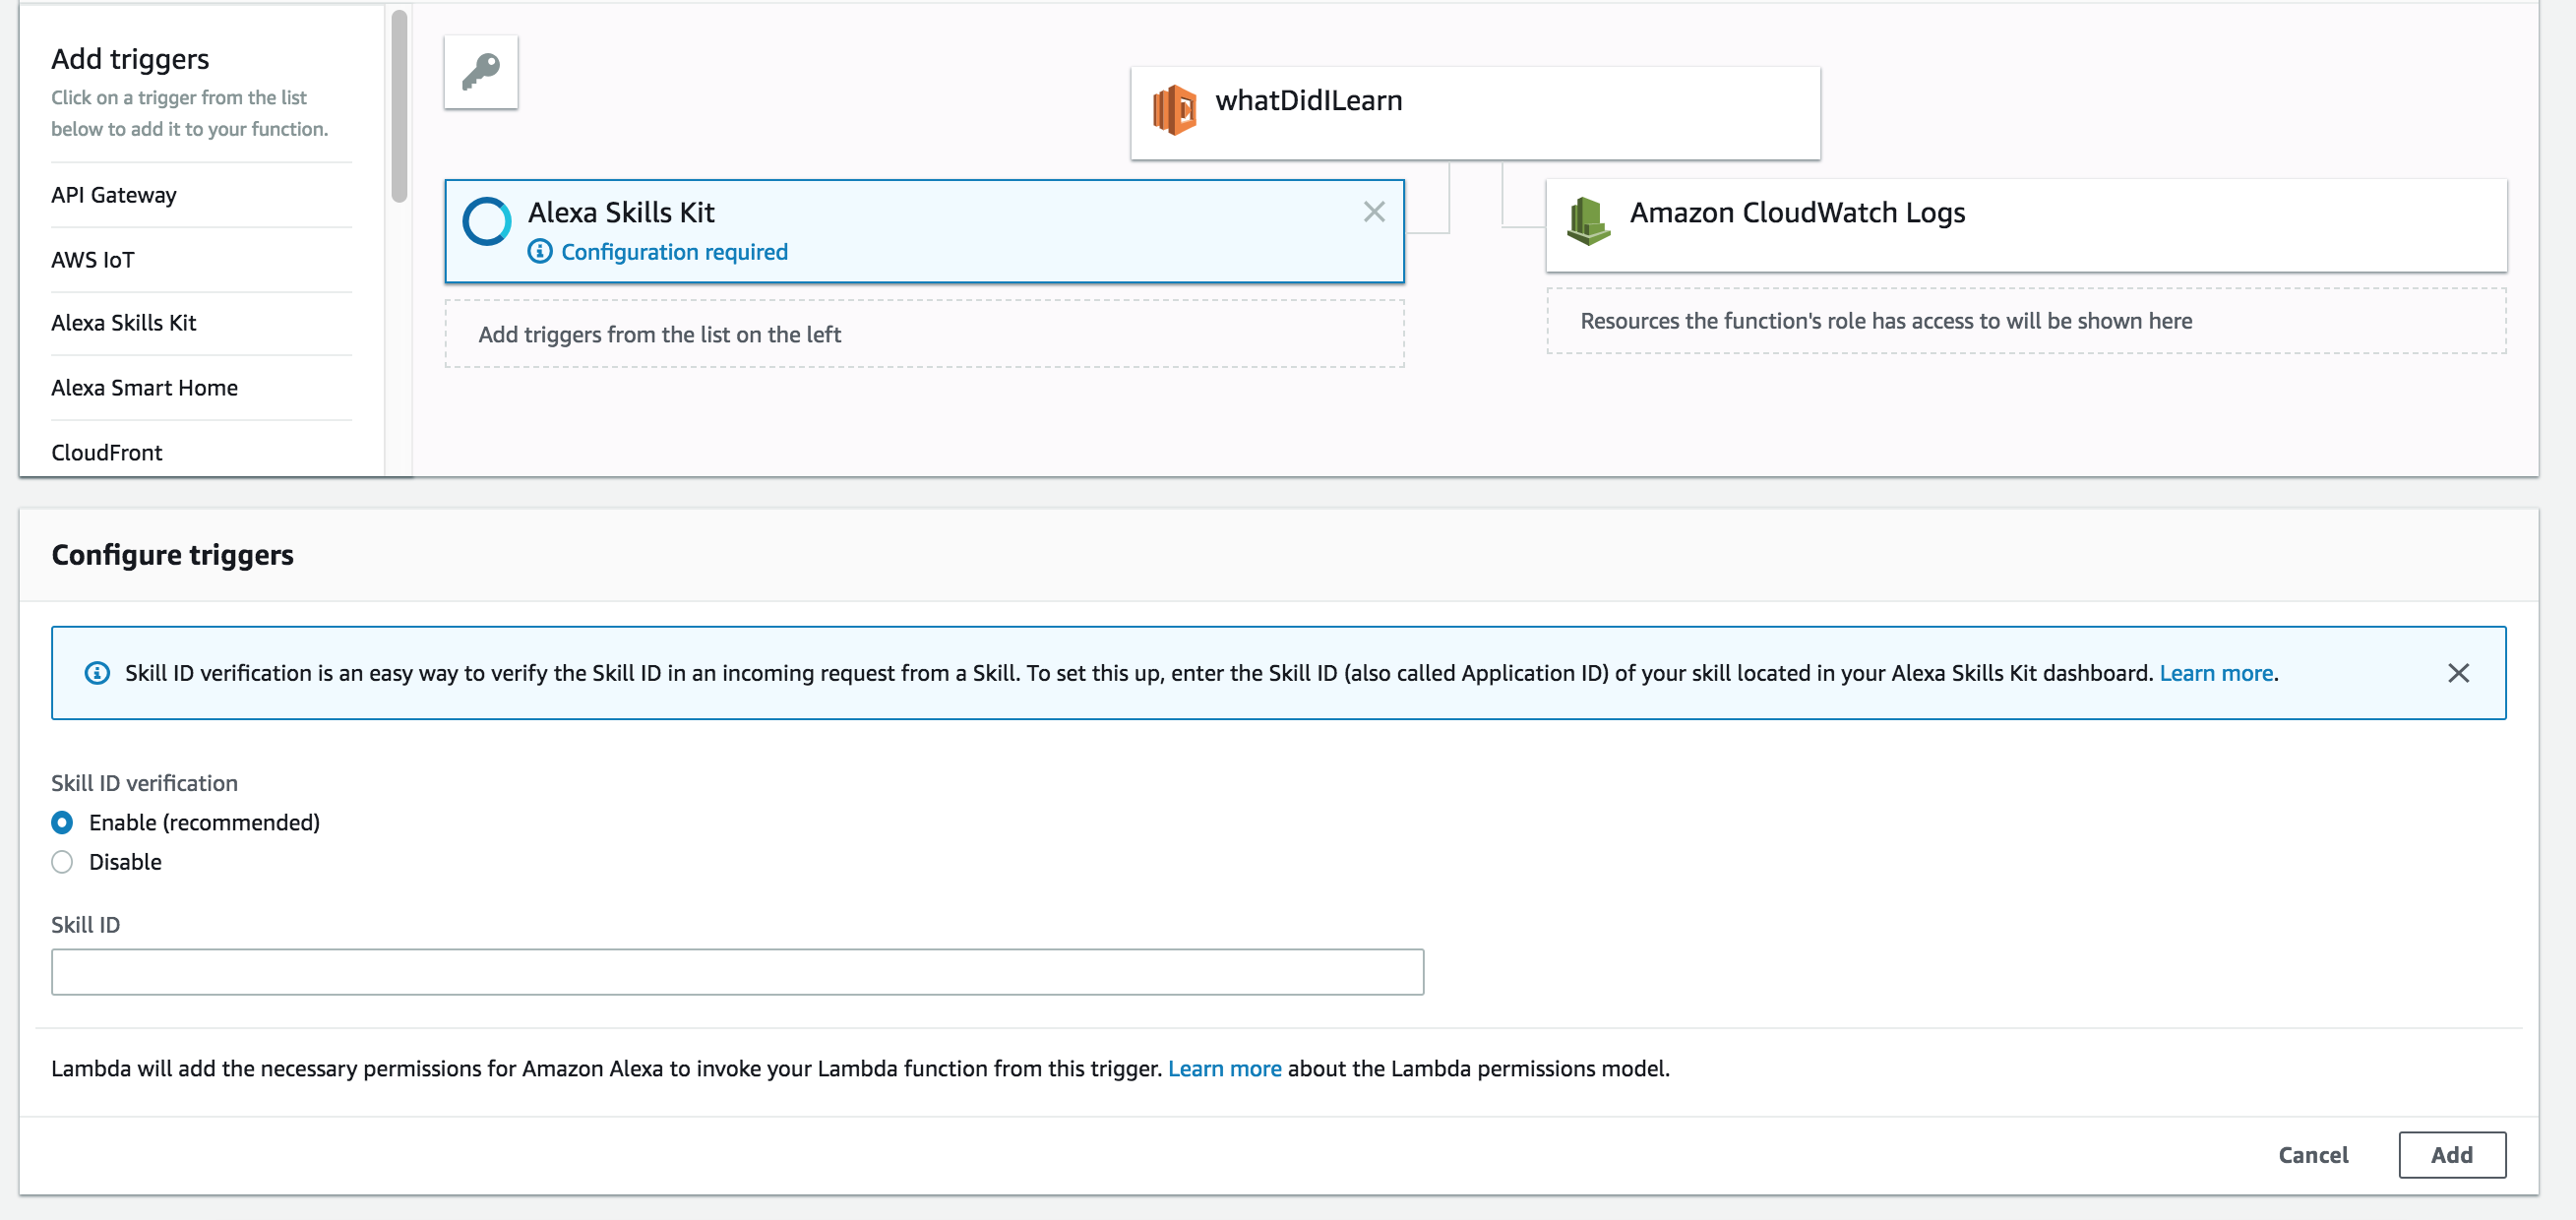
The single option is to decide on the need of skill verification or not. With the skill verification lambda function would ensure that the only linked skill can trigger it. So we need to provide a Skill ID. We can find it on the “Endpoint” page of our skill builder or in the Alexa skills list. (You can find both these pages on developer.amazon.com check the “Skill Builder” section of this article).
Copy & paste skill ID in the corresponding field, click “Add” and then “Save” on the top of the page.
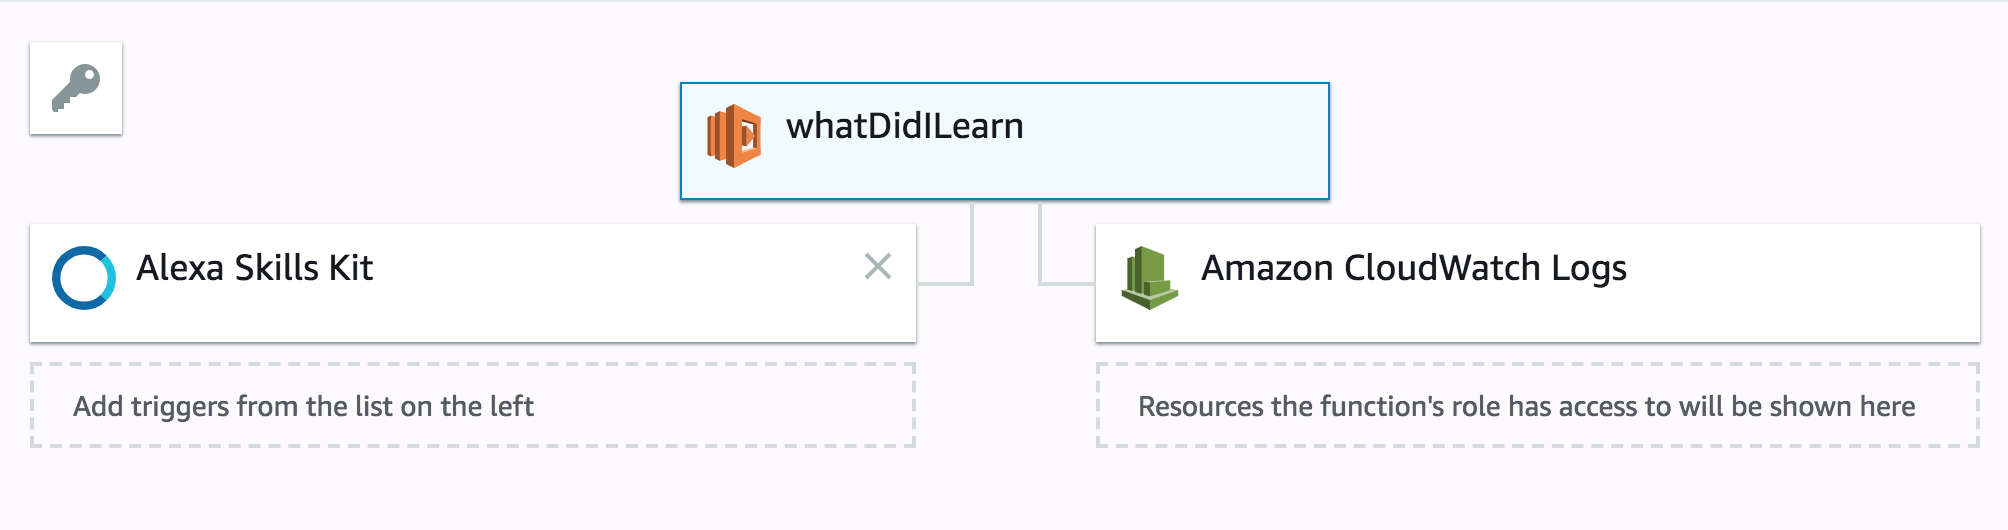
Now click on the name of lambda function above “Alexa Skills Kit”
We are ready to create a source code for the lambda function. On your local computer create a new folder. Inside that folder, we are going to create several files with the implementation of the skill.
First, let’s create an index.js file with the following content
const Alexa = require('alexa-sdk');

// Replace with your app ID (OPTIONAL).
// You can find this value at the top of your skill's page on http://developer.amazon.com.
// Make sure to enclose your value in quotes,
// like this: const APP_ID = 'amzn1.ask.skill.bb4045e6-b3e8-4133-b650-72923c5980f1';
const APP_ID = 'amzn1.ask.skill.bb4045e6-b3e8-4133-b650-72923c5980f1';

const handlers = {
  'LaunchRequest': function () {
    this.emit('WhatDidILearnIntent');
  },
  'WhatDidILearnIntent': function () {
    const say = 'Congratulations! You have learned how to build your first Alexa skill.';

    this.response.speak(say);
    this.emit(':responseReady');
  },
  'AMAZON.HelpIntent': function () {
    const say = 'You can say what did I learn, or, you can say exit... How can I help you?';

    this.response.speak(say).listen(say);
    this.emit(':responseReady');
  },
  'AMAZON.CancelIntent': function () {
    this.response.speak('Bye!');
    this.emit(':responseReady');
  },
  'AMAZON.StopIntent': function () {
    this.response.speak('Bye!');
    this.emit(':responseReady');
  }
};

exports.handler = function (event, context, callback) {
  const alexa = Alexa.handler(event, context, callback);
  alexa.APP_ID = APP_ID;
  alexa.registerHandlers(handlers);
  alexa.execute();
};
Let’s quickly walk through that code.
First, we require ‘alexa-sdk’. We need to use the library to add Alexa functionality to our lambda function.
Next, we create a new constant APP_ID and set it’s value to our Skill ID.
That is the same Skill ID we were using above. (You need to update it with the ID of your skill.)
Then we define a list of handlers for our skill:
LaunchRequest- is triggered whenever our skill is started. You can provide a welcome message here and explain to a user what does the skill do. In our case, we are forwarding flow to theWhatDidILearnintent.WhatDidILearnIntent- is the core of our skill. It is the intent we have defined. Alexa will say the specified text to a user and emits:responseReady. Meaning she was finishing saying a sentence. In our case, she will just exit the skill.- Next three intents are already familiar to us. They are covering cases for “Stop”, “Cancel” and “Help” command.
Then at the very bottom of the file, we define exports.handler function. That is the starting point of the lambda function.
Once lambda function is triggered (by default) it would call exports.handler function from index.js file.
Here we initialize the Alexa Skills Kit handler, set the APP_ID, register the handlers we have described above and executed the lambda function.
This is what concerns index.js file.
As the next step, we need to create a package.json file.
{
  "name": "alexa-skill-what-did-i-learn",
  "version": "1.0.0",
  "private": true,
  "dependencies": {
    "alexa-sdk": "^1.0.25"
  }
}
We have to define it and specify alexa-sdk as a dependency. Otherwise, our lambda function won’t be able to recognize the library.
Now inside the folder with those two files run npm install to fetch and install our dependency.
It will create a package-lock.json file and a node_modules directory with the list of dependencies.
As a next step, we need to compress these files into a zip archive.
Now, from the page of the lambda function, we need to choose “Code entry type” to be “Upload a .ZIP file” then upload just created zip file.
By doing that we will lose the ability of inline editing on from the lambda function page because the node_modules directory contains a lot of items.
Unfortunately, that’s the price we have to pay in order to make the lambda function work.
We almost finished. Now we need to link our lambda function with the skill. To do that, we need to find the “ARN” value from the top of the page. It looks something similar to “arn:aws:lambda:us-east-1:123123123:function:functionName”. Then copy the value and paste into “Default Region” field located on the “Endpoint” page of our skill builder.
That’s it. We are ready to test our skill.
There are a bunch of ways we can test an Alexa skill. Let’s check how we can do that.
Test from the skill builder
At first, we can test our skill right from the skill builder page. To do that we need to navigate to the “Test” page from the top menu. On that page, we need to enable test for that skill. That opens a bunch of options for us.
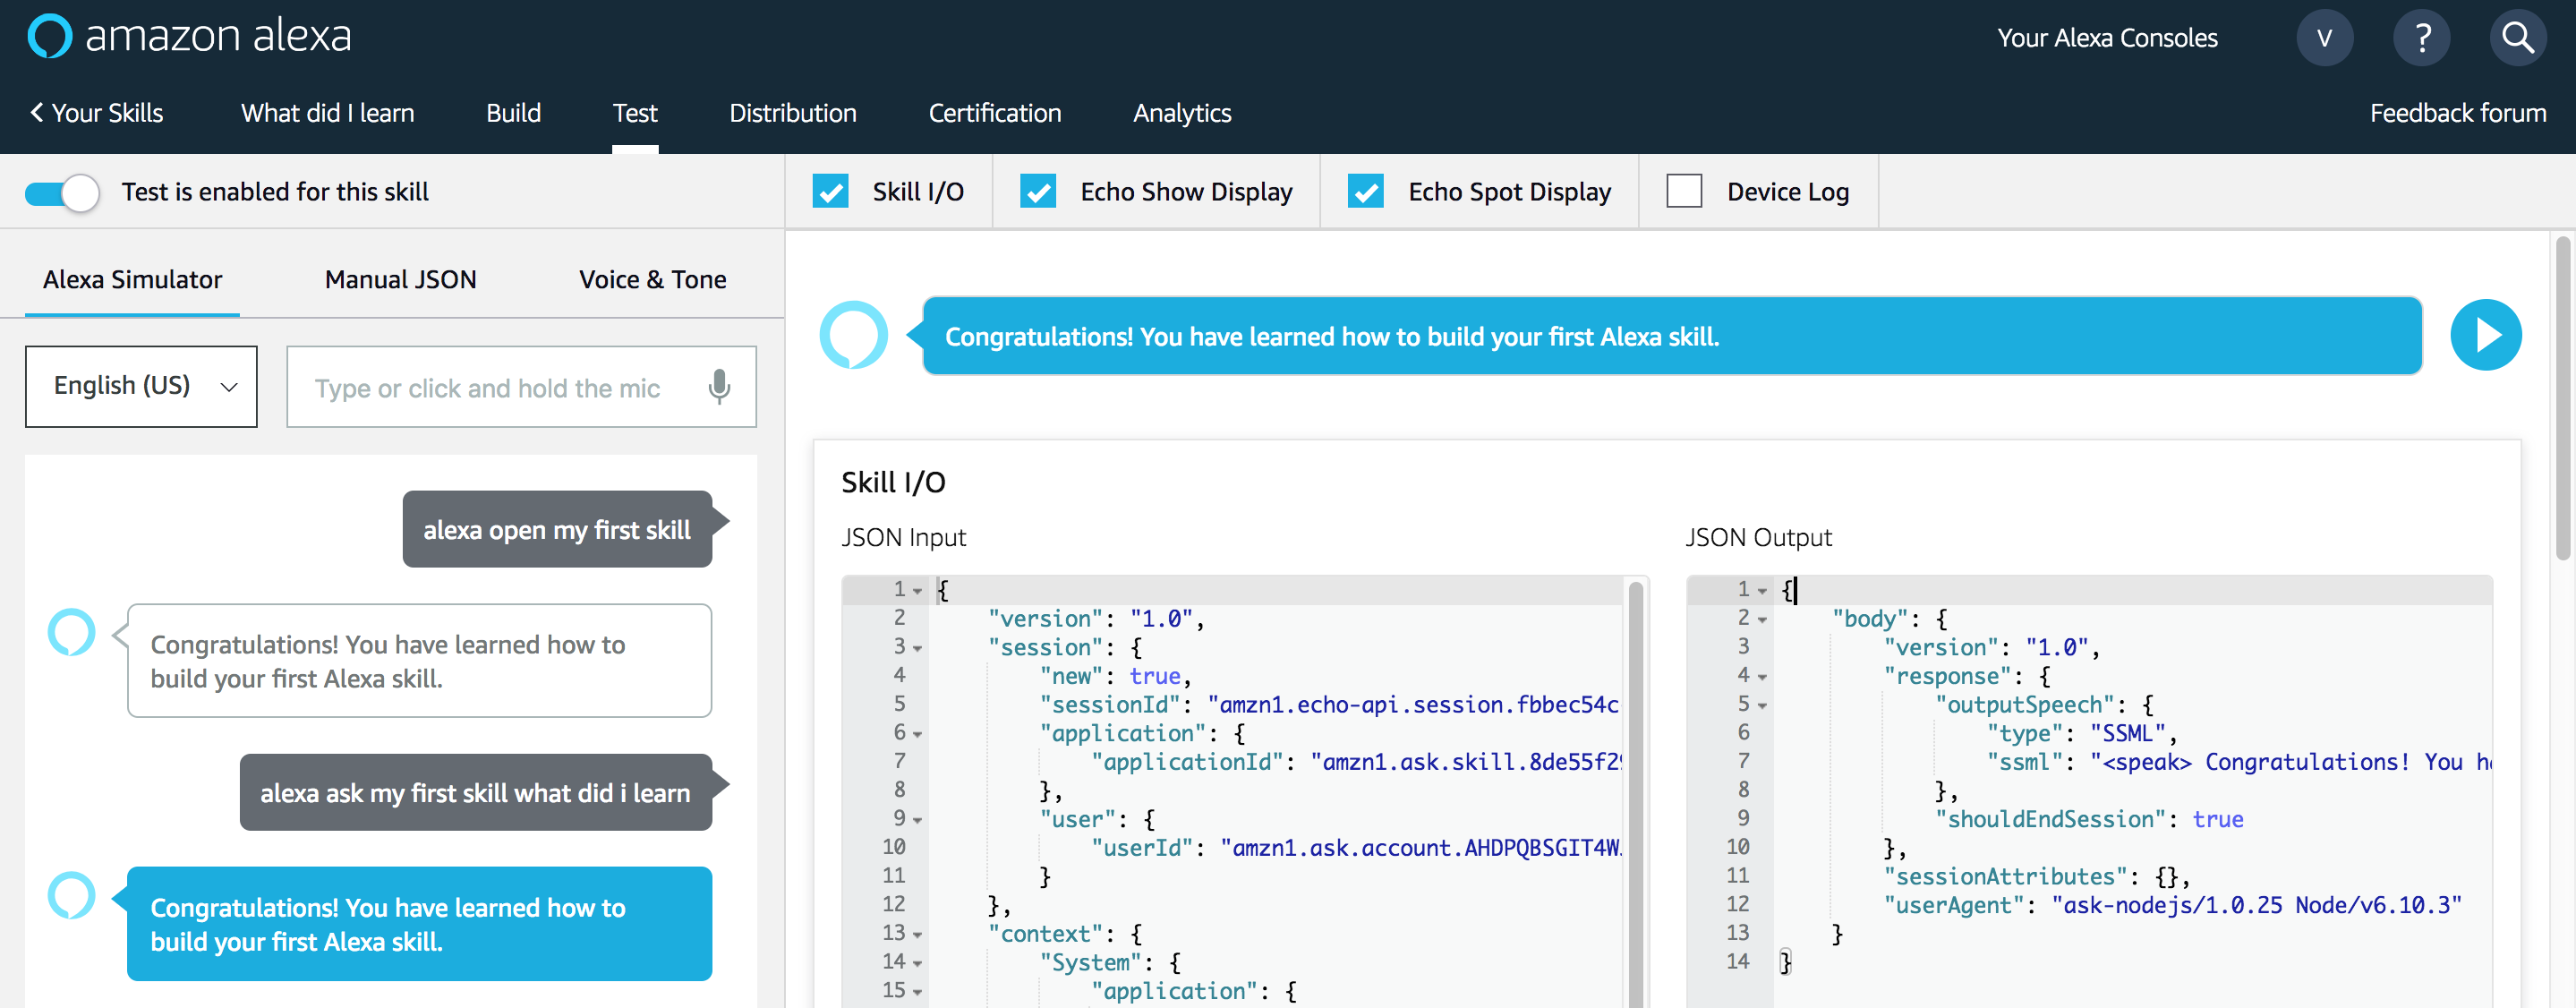
We are going to use “Alexa simulator”. All we need to do is to choose a language. “English (US)” in our case and type the request in the field next to it.
Let’s try it. As we remember we can say: “Alexa open my first skill” or “Alexa ask my first skill what did I learn”.
The simulator will answer back to us and also provide the JSON output. The result of skill we just build you can see in the screenshot below.
Test on Echo device
If you have an Echo device registered to the same Email as your developer.amazon.com account, then you are ready to go. Every time you build an interaction model of your skill it is being available for your account. So you can start to test right away.
That’s one of the great points in developing Alexa skills. The ease of “deploy”. Once you update the skill model or update your lambda function you are ready to use the skill on your own device.
Test in Browser
If you don’t have an Echo device around and you want to show your skill to someone while being away from home. You can use echosim.io. All you need to do is to sign in using your Amazon account and you will be able to interact with virtual Echo device.
Wrapping up
“Congratulations! You have learned how to build your first Alexa skill.”
Today, we have covered all the steps we need to make in order to create Alexa skill. It consists of several parts and might look like a complicated process. But I assure you that seems like that only at the beginning. Once you will wrap your head around it, creating new skills for you would be a piece of cake.
In the next articles, we will dive deeper into skills development to make our skills more advanced.