Animation can be used to imitate interactivity of the real world objects, by moving them around, changing shape or color.
Animation can spice up an app, by giving it a more lively form. It improves user experience by helping to understand some parts of an application. Although excessive animation can distract the user and make matters worse.
The animation is a broad topic. Today I’d like to take a look at very basics of it. We’re going to meet a type of animations we can use and how to create them in React Native.
We are going to look at React Native’s Animated API and how to use it to animate simple objects.
Before we start we need to figure out what kind of things we can animate and how we can animate them.
React Native provides us four components we can use for animation:
Animated.ImageAnimated.ScrollViewAnimated.TextAnimated.View
As well as three animation types:
Timing- animates a value over timeSpring- provides a simple spring physics modelDecay- starts with an initial velocity and gradually slows to a stop
For the sake of today’s examples, we are going to animate Animated.View component using the timing type.
Since that is the most basic approach.
Basic configuration
Let’s take a look at basic configuration we need to apply animation in an application.
First, we need to define an initial value using new Animated.Value(n) (or new Animated.ValueXY({ x: n, y: m }) for driving 2D animations).
We can initialize it in a variety of places. One of them is to keep it in a state of the component.
To start using animation we need to define an initial value.
class SomeComponent extends React.Component {
  state = {
    animation: new Animated.Value(0)
  }
  // ...
}
Then, to import an Animated module:
import { Animated } from 'react-native';
Next, we render Animated.View component:
render() {
  return (
    <Animated.View style={[objectStyles, animationStyles]}>
    </Animated.View>
  );
}
Here we’ve split styles into two parts:
objectStyles- static styles of animated component describing the shape and lookanimationStyles- the styles which we’ll change over time
Like the last piece, we need to start the animation by calling timing() function.
The function accepts “animated value” as a first argument and a configuration object as second.
Then we start the animation by calling a start() function on our animation object.
componentDidMount() {
  Animated.timing(
    this.state.animation,
    {
      toValue: 250,
      duration: 2000
    }
  ).start();
}
In that example, we are starting animation in componentDidMount() callback.
That will gradually change animation value from 0 to 250.
The toValue param stands for that. Then we set a duration parameter to let animation last for two seconds.
Let’s move to our first example. That explanation will make more sense then.
Movement
In that example, we are going to move a box down the screen. To move an object towards the bottom of the screen we need to increase the Y value of the coordinates grid.
The origin of the coordinate system (0,0) is the upper left corner of the screen.
The x-coordinates increase to the right, and the y-coordinates increase from top to bottom.
Following basic configuration we described above, we set our initial animation value to zero.
state = {
  animation: new Animated.Value(0)
}
Then, we start the animation in componentDidMount() callback.
componentDidMount() {
  Animated.timing(
    this.state.animation,
    {
      toValue: 250,
      duration: 2000
    }
  ).start();
}
And render the object with the proper animation styles.
render() {
  const animationStyles = {
    transform: [
      { translateY: this.state.animation }
    ]
  };

  return (
    <Animated.View style={[objectStyles.object, animationStyles]}>
    </Animated.View>
  );
}
To move the box we use transform style to change translateY to the current animation value.
Animation changes that value from 0 to 250 and updates Y position of the object.
You can see that on the example below.
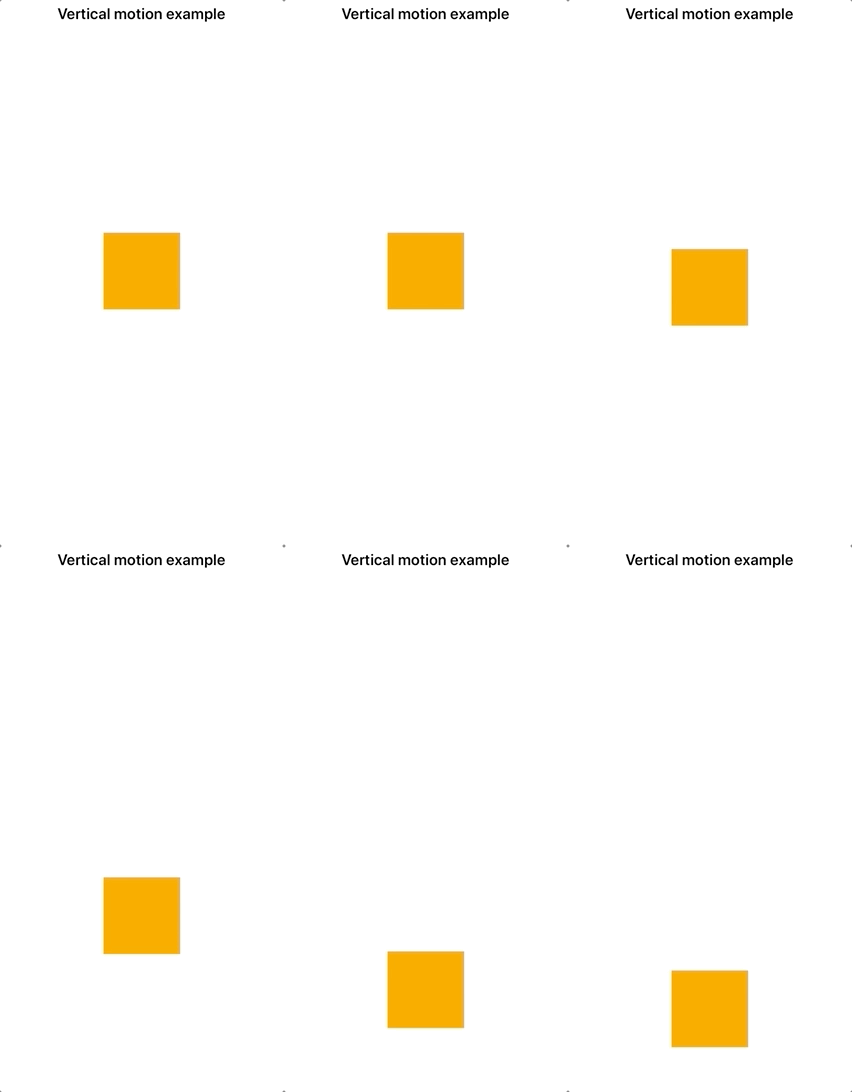
There is the source code of that example.
Fading in and out
To apply a fading effect to an object we can change the opacity property of that object over time.
Where the value of 1 is 100% visible object and 0 is a completely transparent object.
To create a fade out effect we need to change the opacity from one to zero.
Thus, we initialize the animation value with 1:
state = {
  animation: new Animated.Value(1)
}
and change it to 0 in two seconds:
Animated.timing(
  this.state.animation,
  {
    toValue: 0,
    duration: 2000
  }
).start();
And use that value to change the opacity in the animation object.
const animationStyles = {
  opacity: this.state.animation
};
To achieve fade in effect, we need to change the value from 0 to 1.
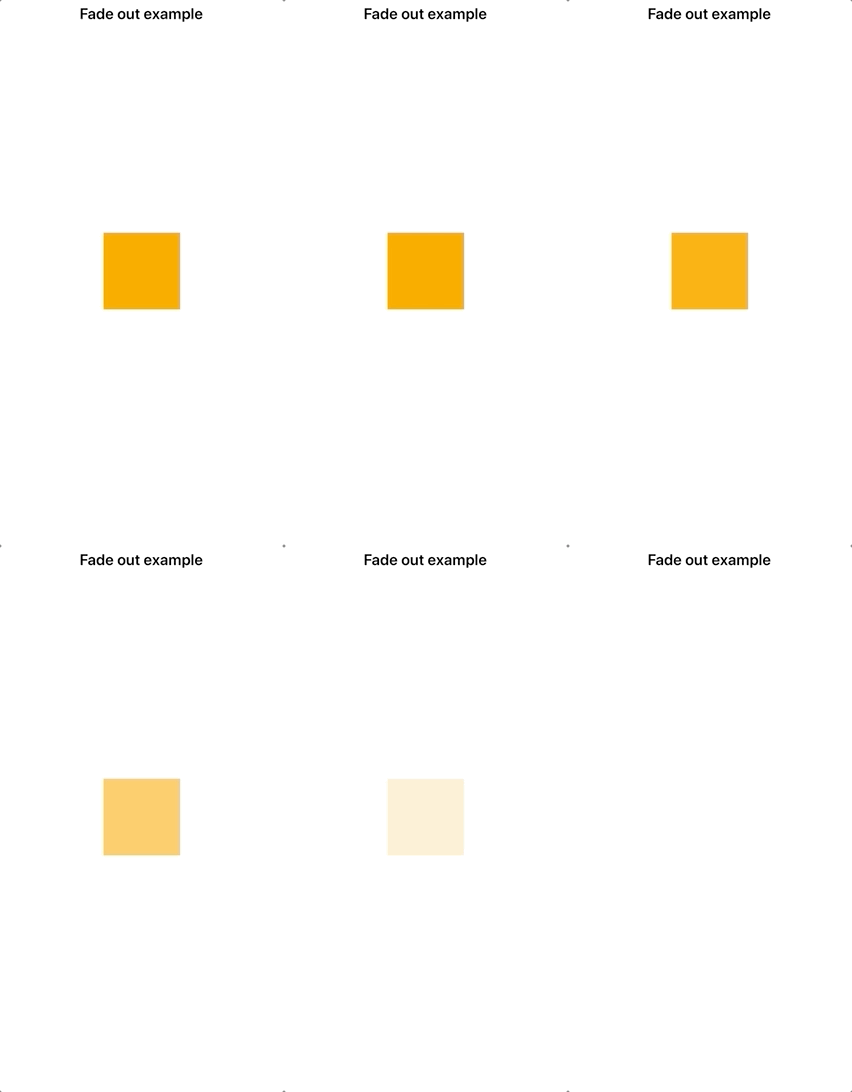

There is source code for Fade out and Fade in examples.
Scale
We can change transform.scale style to scale an object.
const animationStyles = {
  transform: [
    { scale: this.state.animation }
  ]
};
Below you can see an example with the animation value changing from 1 (100% of object size) to 2 (twice bigger).
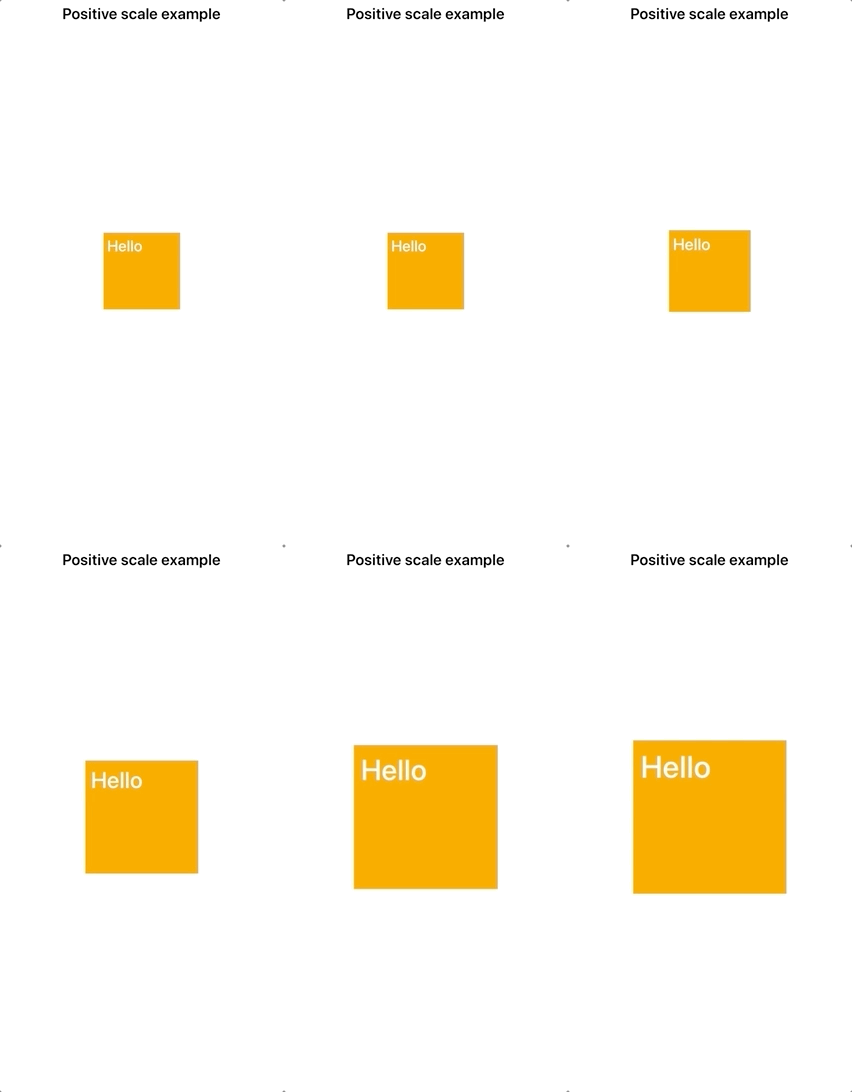
The text inside the box scales as well.
We can scale objects to a negative value. That creates a flip effect.
There is the example scaling an object from 1 to -2`;
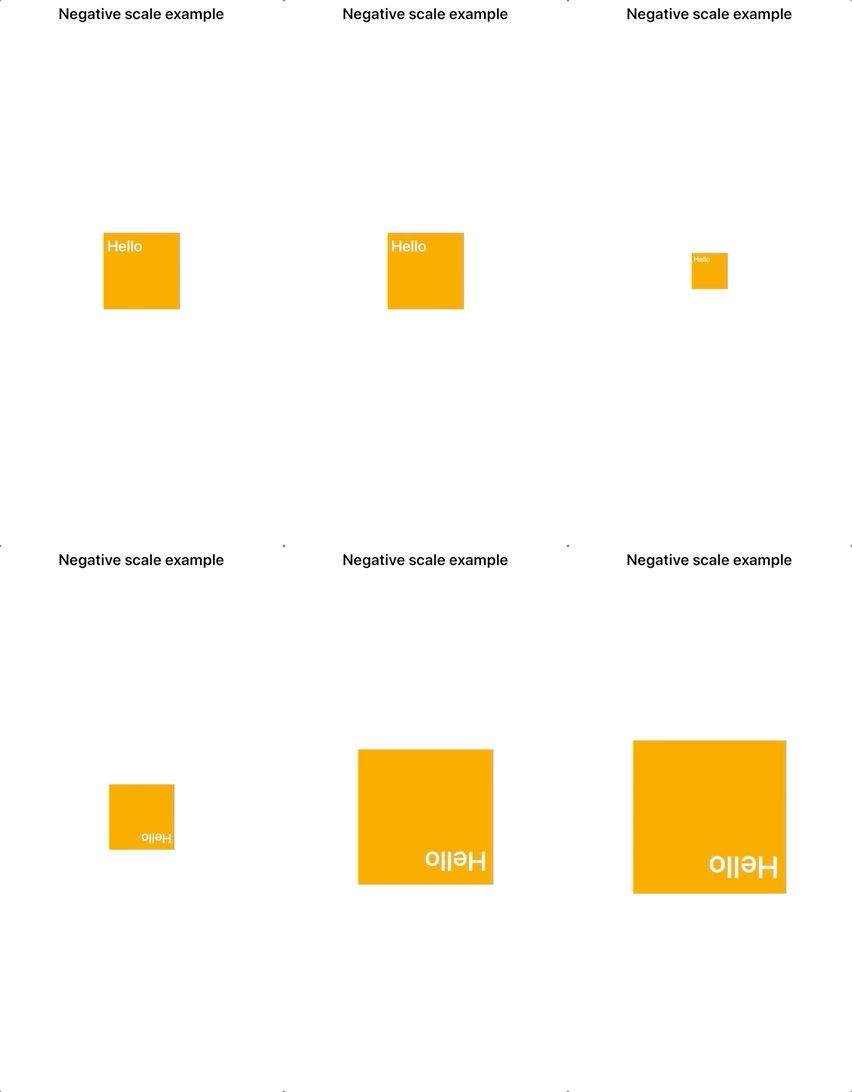
You can achieve a different effect by using it.
There are source code for positive and negative scale of the object.
Resizing
To resize an object we need to update its width and height properties.
const animationStyles = {
  width: this.state.animation,
  height: this.state.animation
};
Then we either increase or decrease those values.
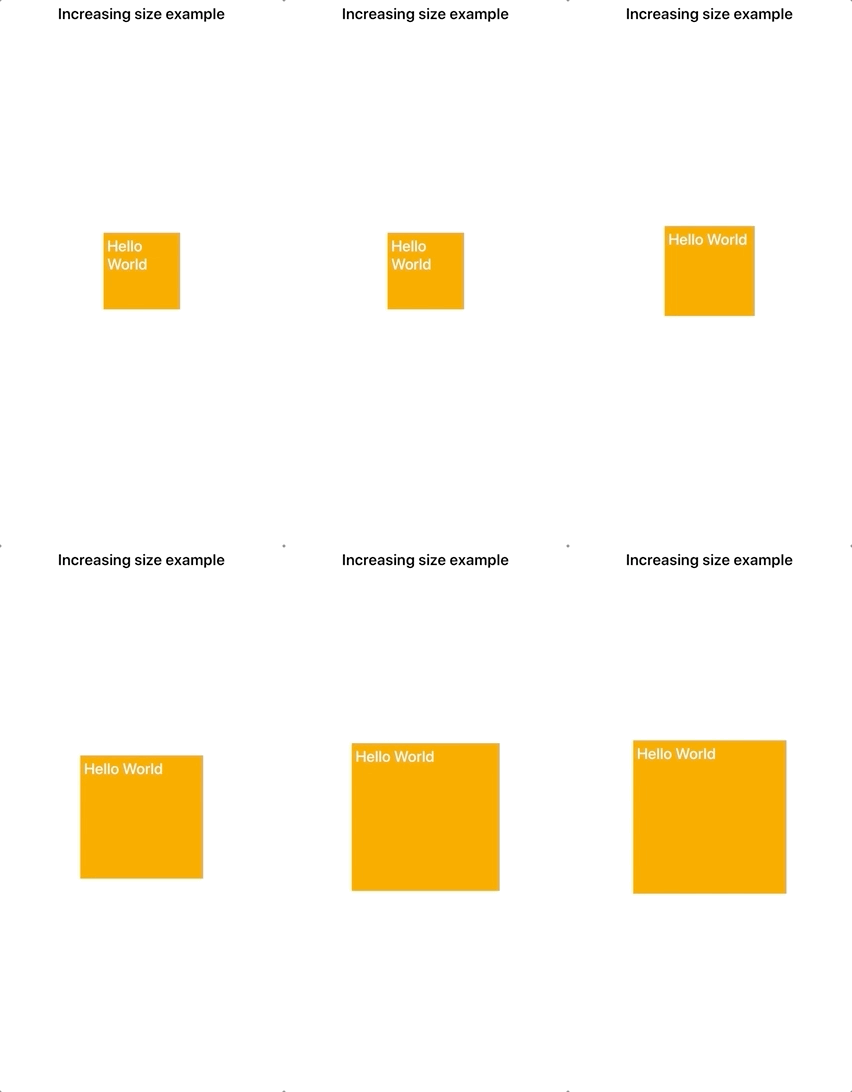
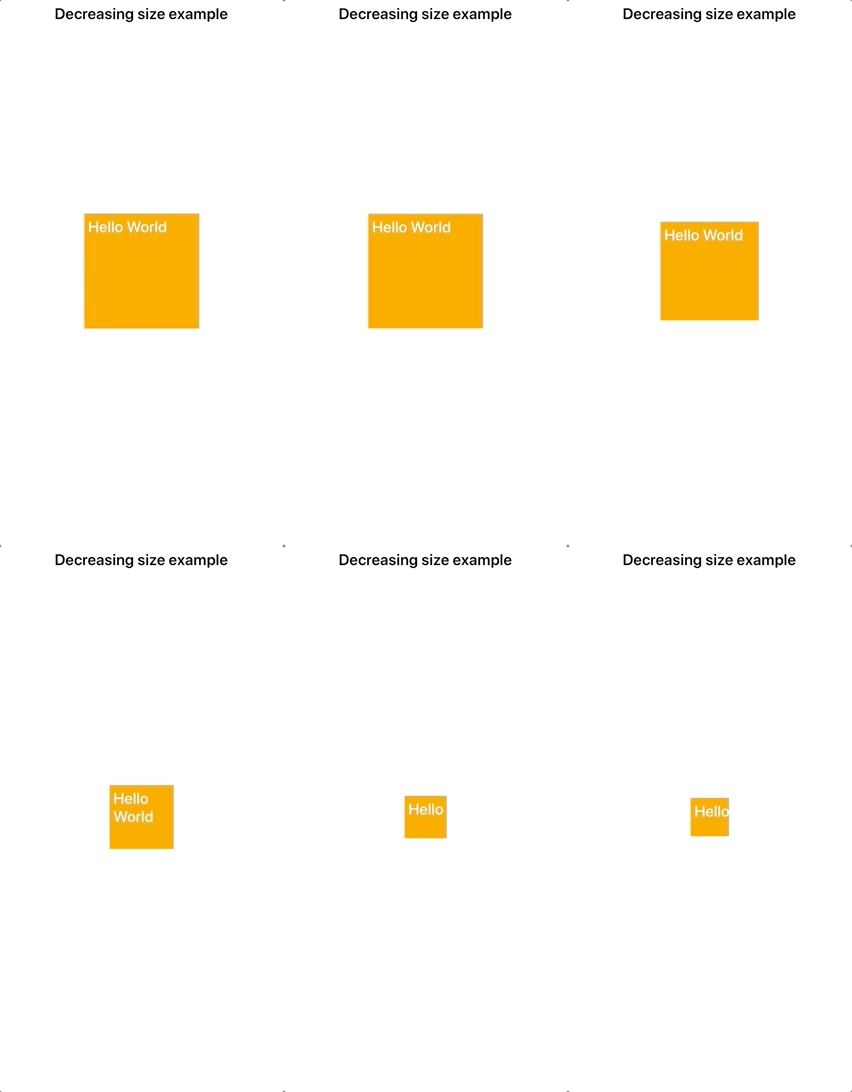
Pay attention to how the text inside the box behaves when we’re increasing the size comparing to scale the object.
There is the source of increasing and decreasing the size examples.
Interpolation
Before we move to the next examples we need to learn what is interpolation (in the context of React Native animation) and how to use it.
In some cases, the result of changing the value from n to m not suffice.
We may need to get the custom value because some object styles accept a different non-integer format.
For examples colors, and rotation degrees.
In these cases we can call interpolate() function to build a custom range of values.
For example, if we want to resize a box using the percentage size of the screen. Then, we can perform the following interpolation:
value.interpolate({
  inputRange: [0, 1],
  outputRange: ['0%', '100%'],
});
The function receives an object with two keys:
inputRange- the range of animation valueoutputRange- the result of interpolated values mapped to the input range
In that example, when animation changes its value from zero to one, it will gradually change the percentage from 0% to 100%.
In the next example, we’ll see interpolation in action.
Rotation
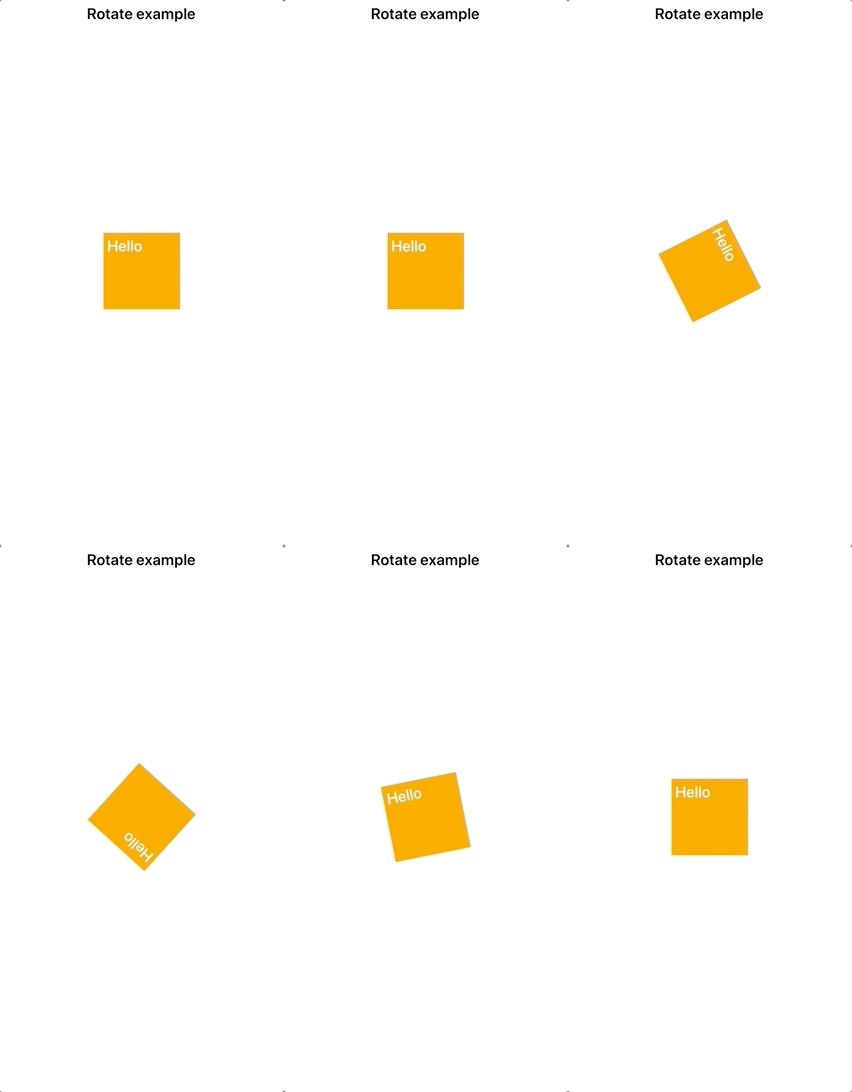
To achieve rotation effect we are going to change animation value from 0 to 1 and updating the transform.rotate style.
Now, since that style doesn’t support numbers as its values we are going to apply interpolation.
const animationStyles = {
  transform: [
    {
      rotate: this.state.animation.interpolate({
        inputRange: [0, 1],
        outputRange: ['0deg', '360deg']
      })
    }
  ]
};
Here we define interpolation rule that changes value starting from 0 degrees to 360.
Here is the result:
As an option we can update transform.rotateX or transform.rotateY style, that will lead to the following effect:
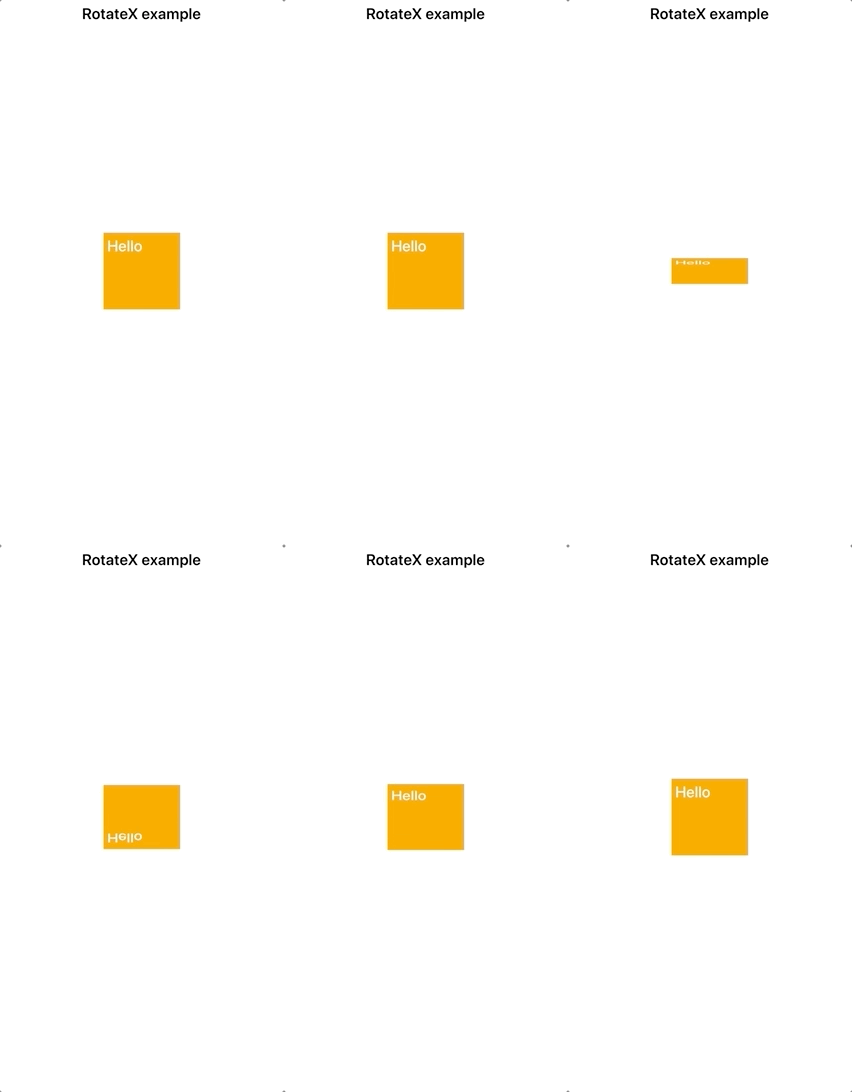
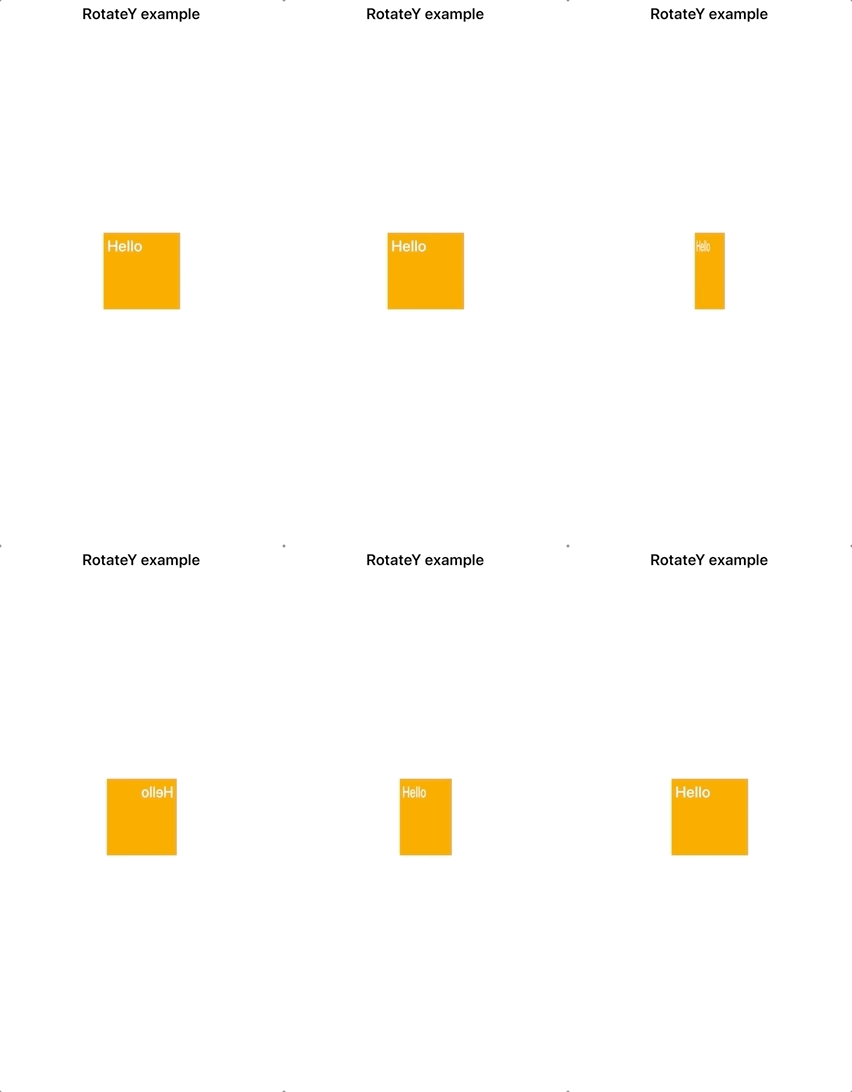
Here is the source code of Rotate, RotateX, and RotateY examples.
Color change
We can also change the color of the object over time.
Let’s try this out by changing a backgroundColor of our box.
const animationStyles = {
  backgroundColor: this.state.animation.interpolate({
    inputRange: [0, 0.5, 1],
    outputRange: ['orange', 'rgb(0, 200, 0)', 'purple']
  })
};
As you can see, interpolation can contain more than two input and output values. In those examples we’re telling our animation to start from an orange color, then to change background color to green at the halfway. Then the animation will paint the box purple.
Since backgroundColor style supports both text and RGB format, I’m using it here for the sake of example.
Here is how it looks:
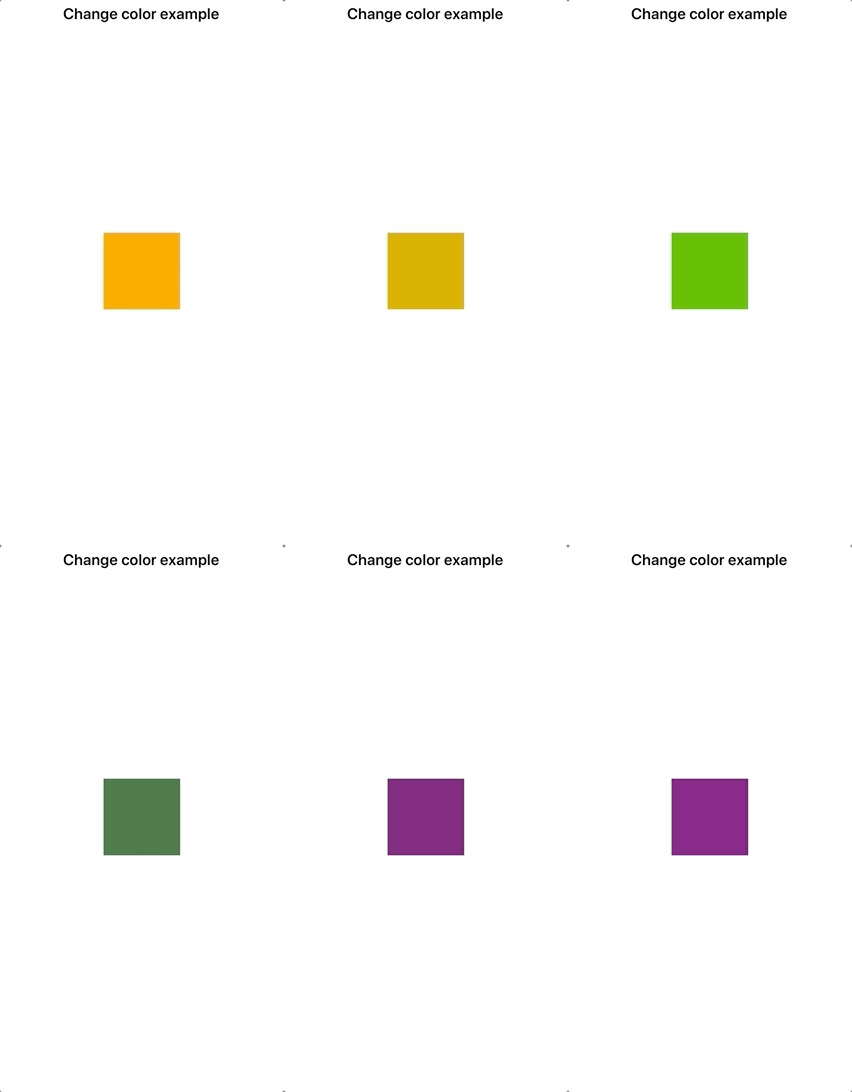
And the source of that example.
Wrapping up
We’ve covered the most of basics animation examples. Which we can easily build with React Native’s Animated API. We’ve learned how to move objects around, resize, and rescale them, as well as the other transitions.
That should be a good start to bring animations to your applications.
In the next article, we are going to dig deeper into the animation topic and learn some advanced techniques.
You can find the complete repository of these examples on the GitHub page.
See you next time.